|

Chapter 34
The Border War
April 1811-December 1811
|
Although
driven out of Portugal in April 1811, the French threatened
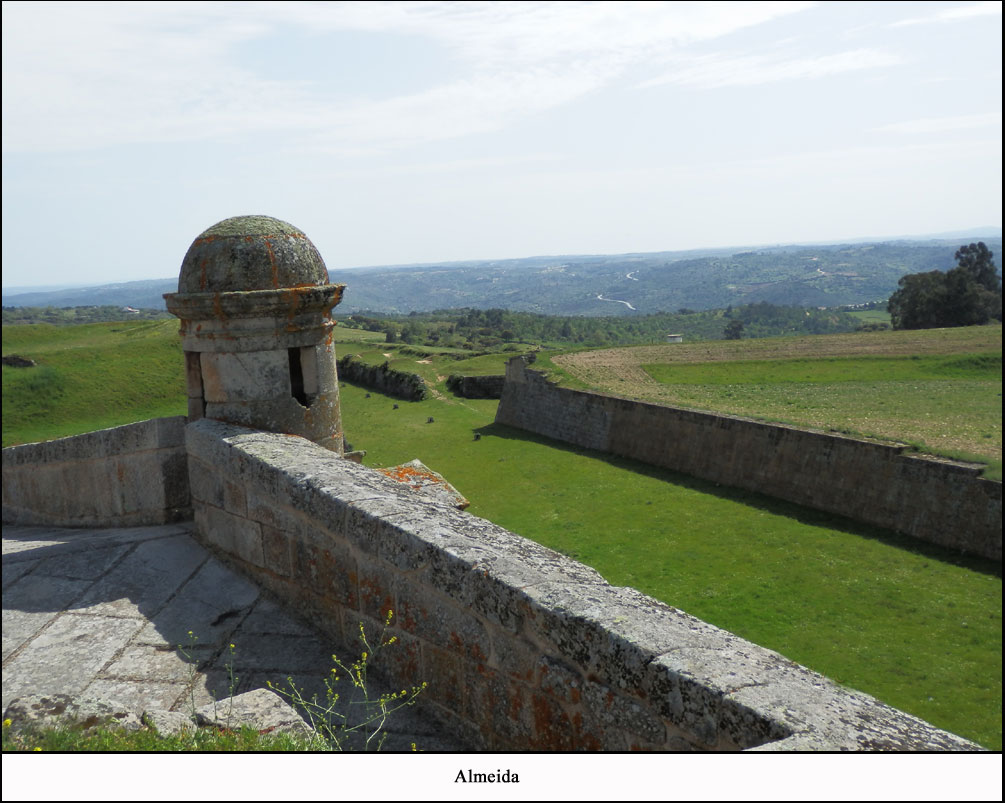
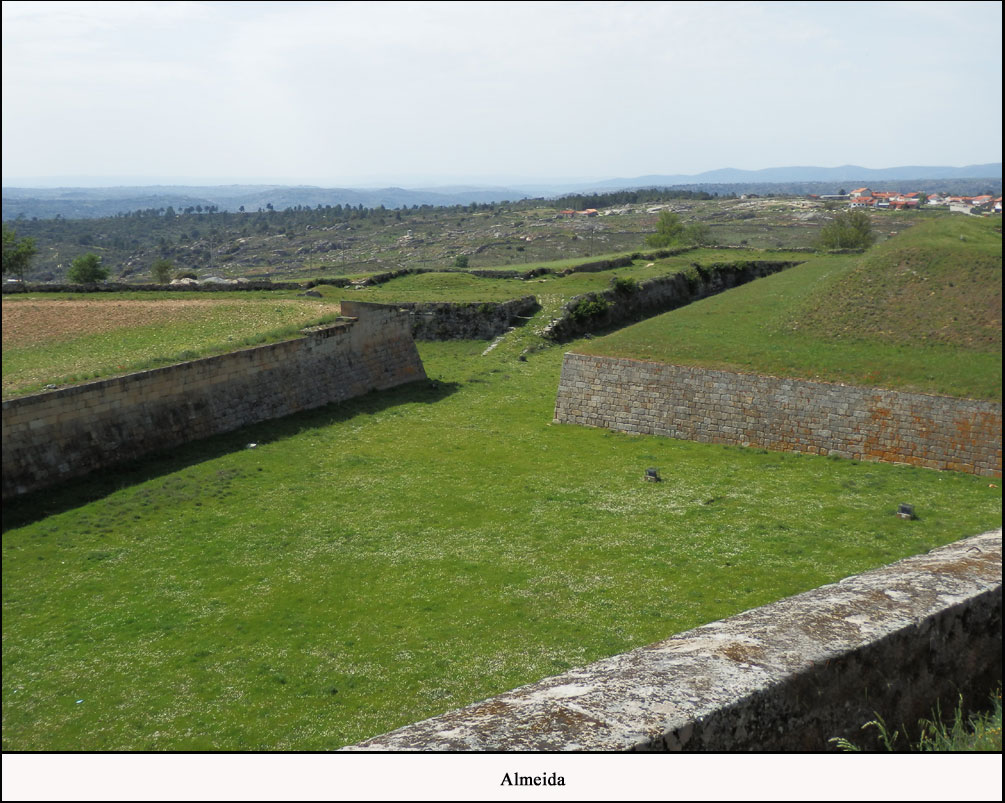
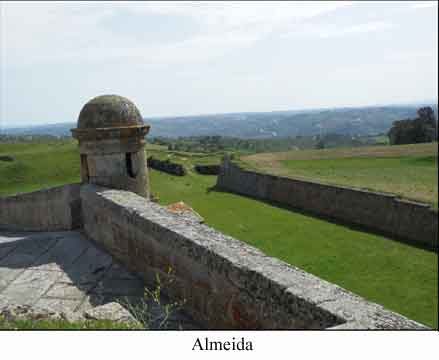
the blockade of Almeida in the
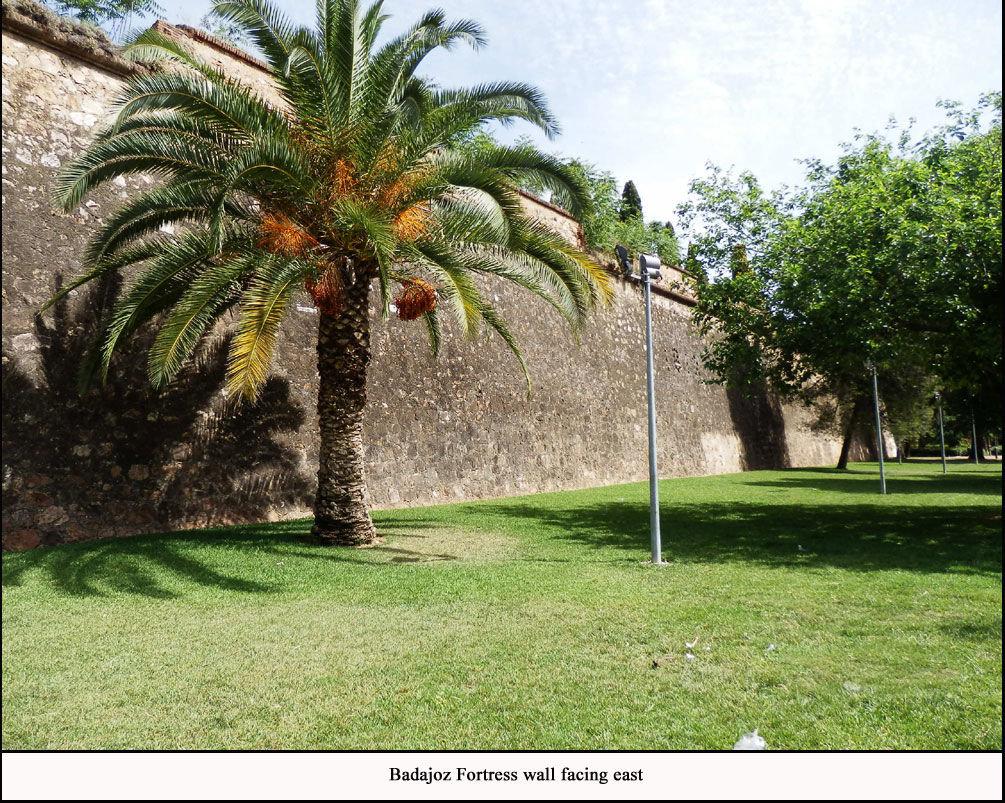
north and that of Badajoz in the
south and the following month on May 10th Massena attacked
Wellington at Fuentes D'Onoro and six days later on May
16th, Soult attacked Beresford at Albuera. Niether attack
succeeded and in fact Brennier was induced to escape from
Almeida, blowing it up in the process. |
 |
In the
north, Massena had advanced on the allied position and
crossed the Agueda river. On May 5th, whilst Pack remained
blockading Almeida, Wellington concentrated his troops
on the plateau above Fuentes D’Onoro, protected
by the steep ravine of the Dos Casas river below the village
and towards the north. Massena tried to outflank Wellington
on his right with cavalry and infantry which caused the
7th Division and the Light Division to retreat amidst
heavy fighting. However his main attack on Wellington’s
left wing in the village of Fuentes D'Onoro failed after
heavy fighting and as a result was unable to attack from
the south with his main body. The battle was another victory
for Wellington and Massena was forced to retreat.
Sometime between the 8th and 10th of May, Massena arranged
for a coded message to be sent to Brennier who commanded
the 1300 troops in the fortress at Almeida, with instructions
for him to escape to the north, on the night of 10th May
and meet up with Marshal Reynier. |
By
an unhappy coincidence, Wellington had ordered that the
6th Division should relieve Pack’s Brigade in blockading
Almeida and on the 10th May the very day of the planned
escape by Brennier, General Campbell took over command
from Pack, whom he moved to Cinco Villas four miles north
west of Almeida. That night at 11.30pm the French were
successful in surprising the pickets around the fortress
and made their escape leaving behind a huge explosive
charge which blew up after they left, destroying a large
part of the fort. Pack gathered together 80 pickets from
the 1st Portuguese regiment and pursued the French who
escaped across the bridge at Barba del Puerco but with
the loss of 300 men. Those held responsible for this debacle
were General Campbell and General Erskine. The battle
of Albuera was fought between |
|
Beresford
and Soult, south of the Tagus on the 16th May, soon after
Wellington's engagement north of the Tagus fighting off
Massena's attempts to relieve Pack's blockade of Almeida
at Fuentes D'Onoro.
Weeks earlier on the 15th April
when Wellington was satisfied that Massena had dispersed
his army into cantonments around Salamanca, he left Spencer
in command and rode on horseback from Villa Formoso to
Elvas via Sabugal and Castello Branco, arriving there
on 20th April. After surveying the state of Badajoz he
left Beresford detailed instructions on future strategy
in Estramadura, before returning to the frontiers of Leon,
arriving back on 29th April.
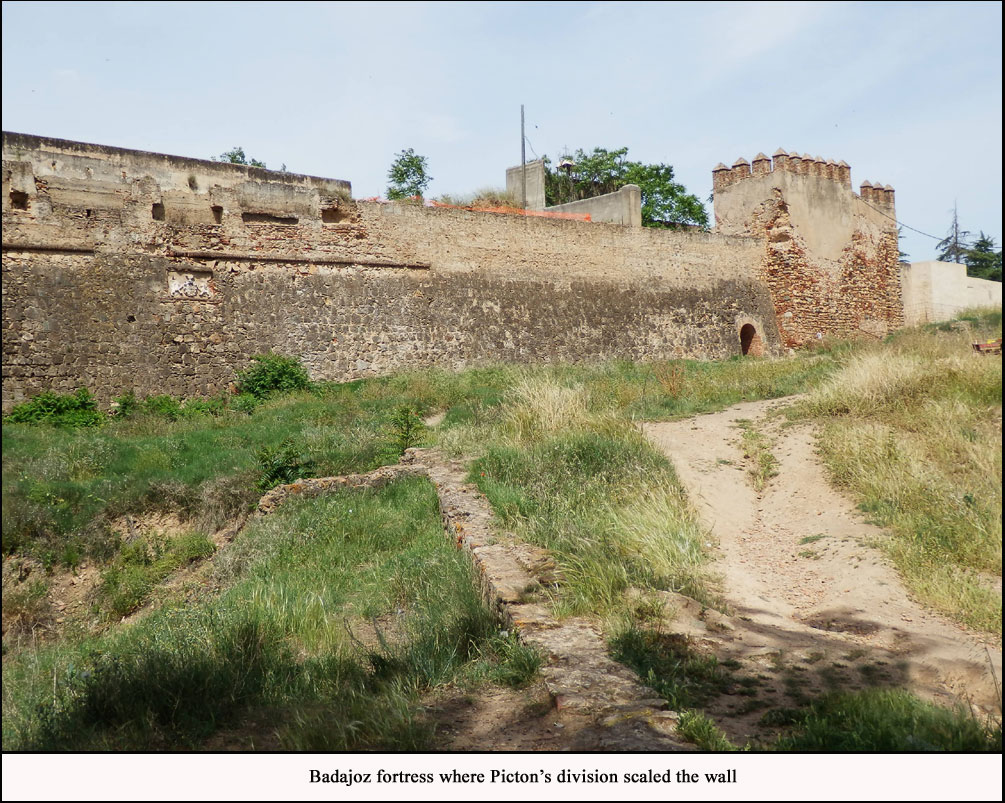
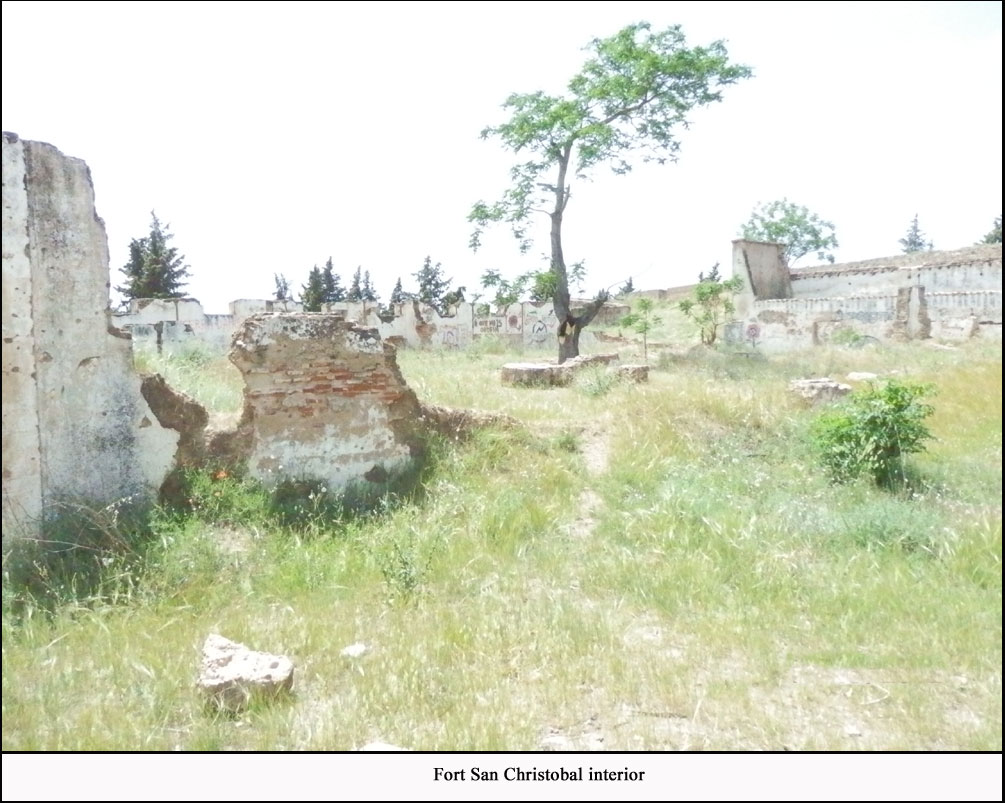
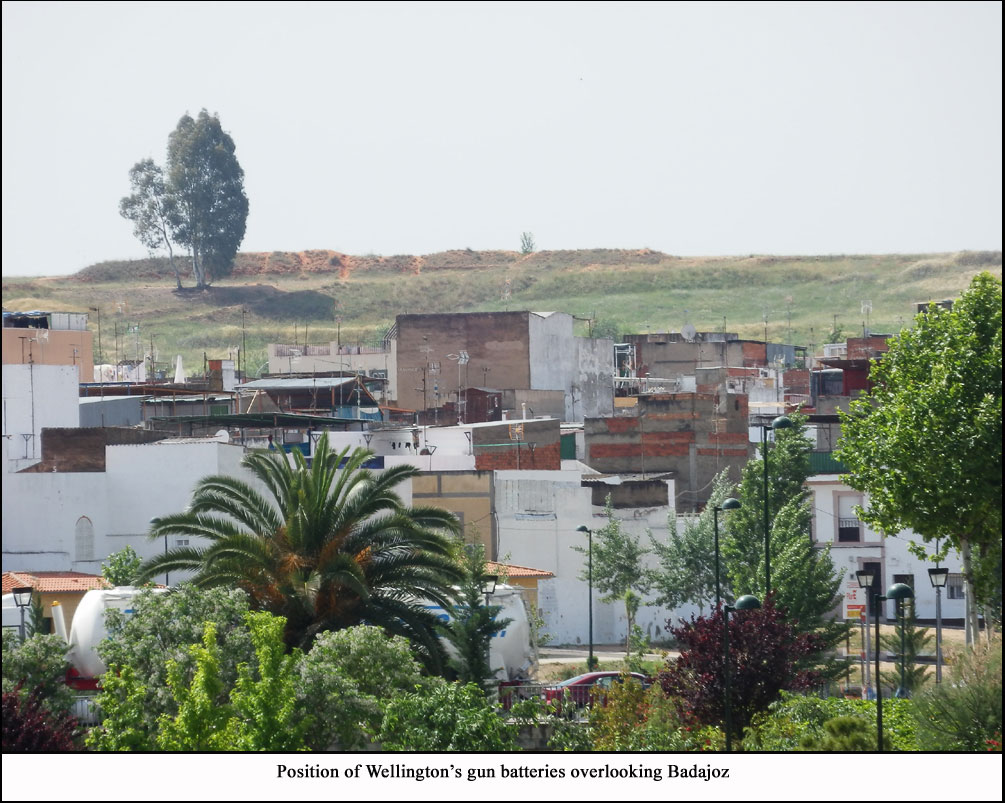
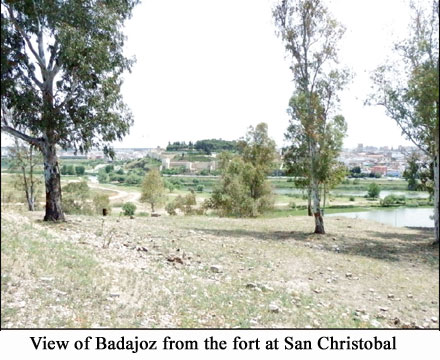
Wellington required Beresford to lay siege to Badajoz
but only after taking the outlying satellite fortresses
of San Christobal, Picurina and Pardaleras. If the French
army under Soult should march north to relieve Badajoz
with an army which could be fought, Beresford was ordered
to |
 |
assemble his troops and the Spanish armies of Blake and
Castanos at Albuerra. Beresford began bringing up his
siege equipment from Elvas and started constructing trenches
around outlying fortresses, but suffered significant losses
in the process. However, when he heard that Soult was
marching north with an army of 23,000 as Wellington had
predicted, he abandoned the siege works and started to
concentrate his troops around Albuera. The battle of Albuera
on 16th May was a |
 |
succession of disasters
for Beresford caused in the main by his Spanish Allies
and the incompetence of his subordinates.
Blake commanding the Spanish, refused to comply with Beresford's
orders and Stewart leading the second Division exposed
his infantry unnecessarily to French cavalry. However
despite these and other setbacks Beresford won the battle
albeit at great expense and caused Soult to retreat across
the Sierra Morena.
With the battle of Fuentes won, Almeida now in allied
hands and Massena once more in retreat, Wellington’s
attention turned again to the situation south of the Tagus
– even before the battle of Albuera, Wellington
began moving his forces south to assist Beresford. On
May 14th Wellington set out for Estramadura with the 3rd
& 7th Divisions and 2nd Hussars leaving Spencer in
charge of the northern army comprising 1st, 5th, 6th,
and Light Divisions along with Pack, Ashworth and the
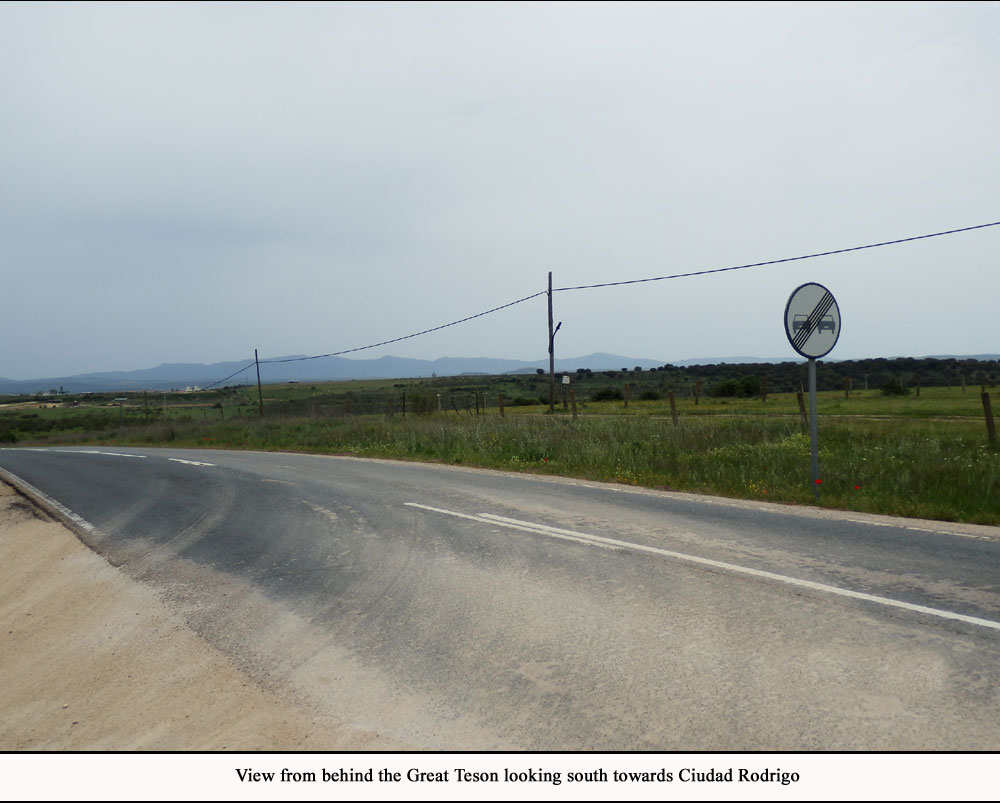
cavalry. Spencer was ordered to hold the line of the Agueda
facing Ciudad Rodrigo with the Divisions cantoned between
Almeida and Nova de Aver. Wellington |
arrived
in the neighbourhood of Badajoz on the 24th May. Soult
was moving north to relieve Badajoz but was pushed back
by Beresford to Monasterio and there was a combat at Usagre
in which the French suffered heavily.
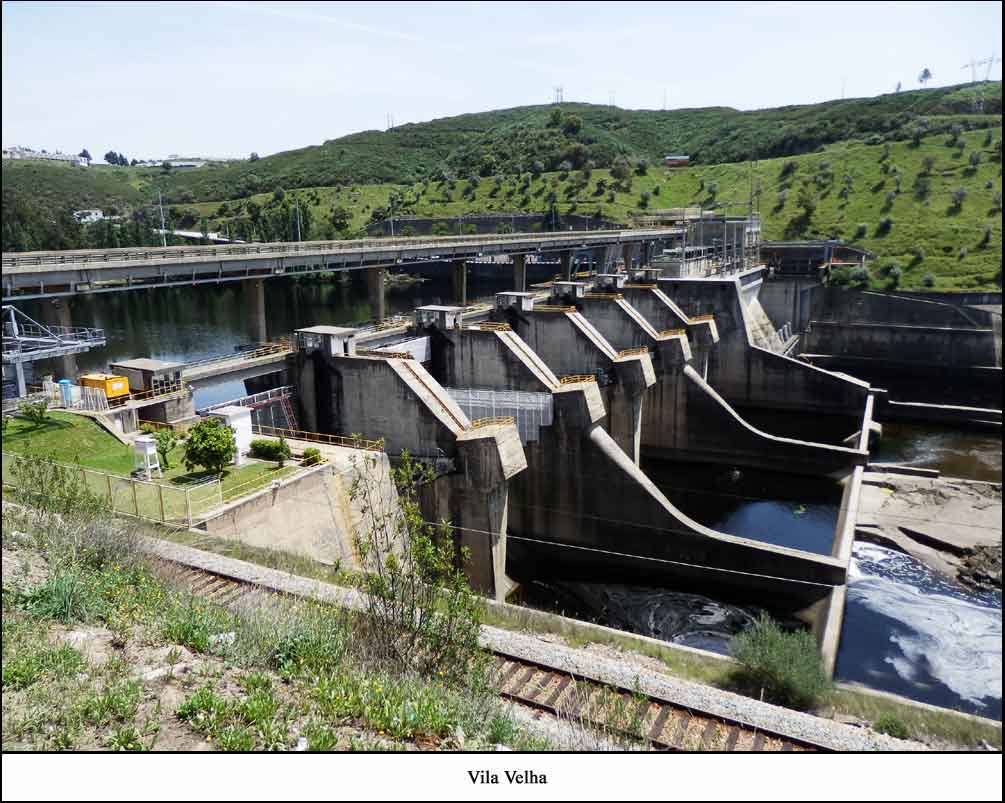
On 31st May Marmont started to move south to the Tagus
to support Soult. Wellington anticipating this move ordered
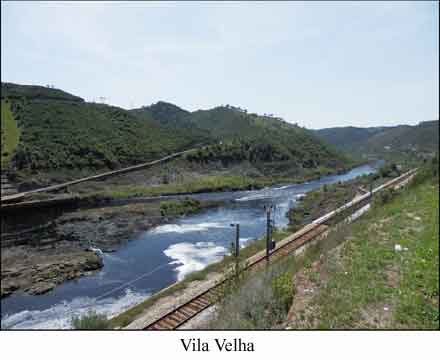
Spencer to move south and Pack who was bringing up the
rear, blew up Almeida (which had been partially rebuilt)
before he left. Pack bringing up the rear crossed the
Tagus at Villa Velha on 15th-16th
June. The head of Spencers column arrived at Niza 20 miles
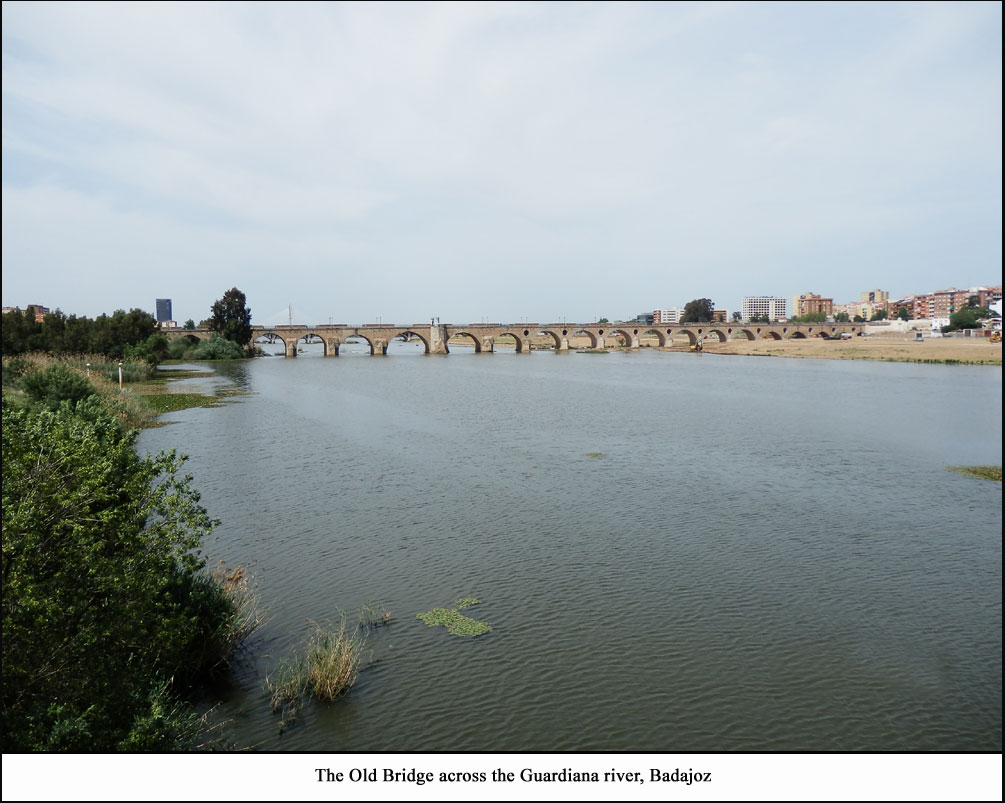
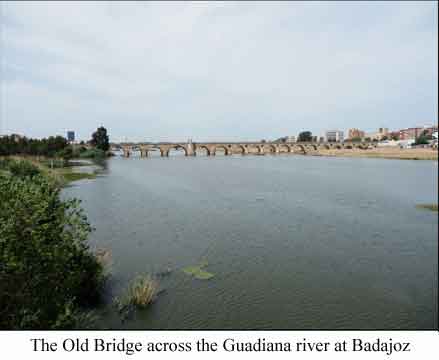
from Portalegre on the 13th June. On June 17th Wellington’s
five Divisions crossed the Guardiana river and took up
positions along a line from Elvas, Campo
Mayor, and Ouguella. The two armies faced each other
but no attack |
took place until eventually
Marmont was had to retire deeper into Spain. Marmont no
longer presenting a risk, on 18th July Wellington ordered
the army to march north, leaving Hill (who had returned
to command the southern army after his long illness) with
his two Divisions in the south.
From July to December 1811 there was much manouvering
around Badajoz but little change came of it.
On August 12th the headquarters of the Anglo-Portuguese
army in the north was at Fuente Guinaldo in the neighbourhood
of Ciudad Rodrigo and remained there
until September 24th. Command of the 1st Division had
passed from Spencer to Graham during August.
Positions in late September were 1st Division at Penmacor,
the 3rd and Light Division were positioned in front of
Ciudad Rodrigo, 4th Division at Pedrogao, 5th Division
at Perales, Payo, Novas Frias, the 6th Division were between
the Coa and the lower Agueda from Nova de Aver and as
far as the bridge of Barba del Purco, the 7th Division
at Villa |
 |
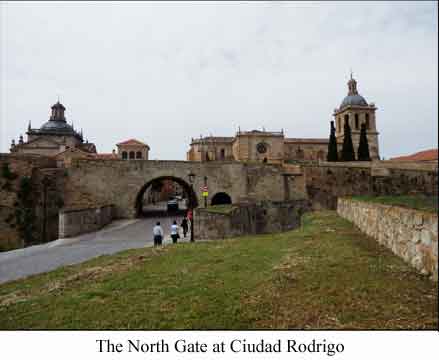
Major near Sabugal and Fuente Guinaldor. The advance of
the French to relieve Ciudad Rodrigo began on September
22nd when Marmont brought up the majority (5 Divisions)
of his army across the Sierra de Gata and combined with
Dorsenne’s 4 Divisions from the Army of the North.
Wellington attempted to concentrate his forces at Fuente
Guinaldo but had troops strung out close to Ciudad Rodrigo
at El Boden which were attacked by 2,500 cavalry on the
25th September and had to fight a desperate rear guard
action before retreating on Fuente Guinaldo where the
3rd and 4th Divisions and Pack’s Brigade along with
some cavalry were in partially completed entrenched positions.
After dusk on 26th September, Wellington retreated from
his position at Fuente Guinaldo in 2 columns (including
Pack) one by the direct road by Casillas de Flores and
Furcalhos the other by a secondary path through Alden
do Ponte to the defensive position at Alfayates. |
 |
On 29th September
Graham received orders to retire with the 1st and 6th
Divisions to regular winter quarters in the interior Beira
about Guarda, Celorico, and Freixadas. The 7th Division
was sent south to Penamacor, the 3rd, 4th and Light Divisions
returned to the border with Spain and established observation
posts.
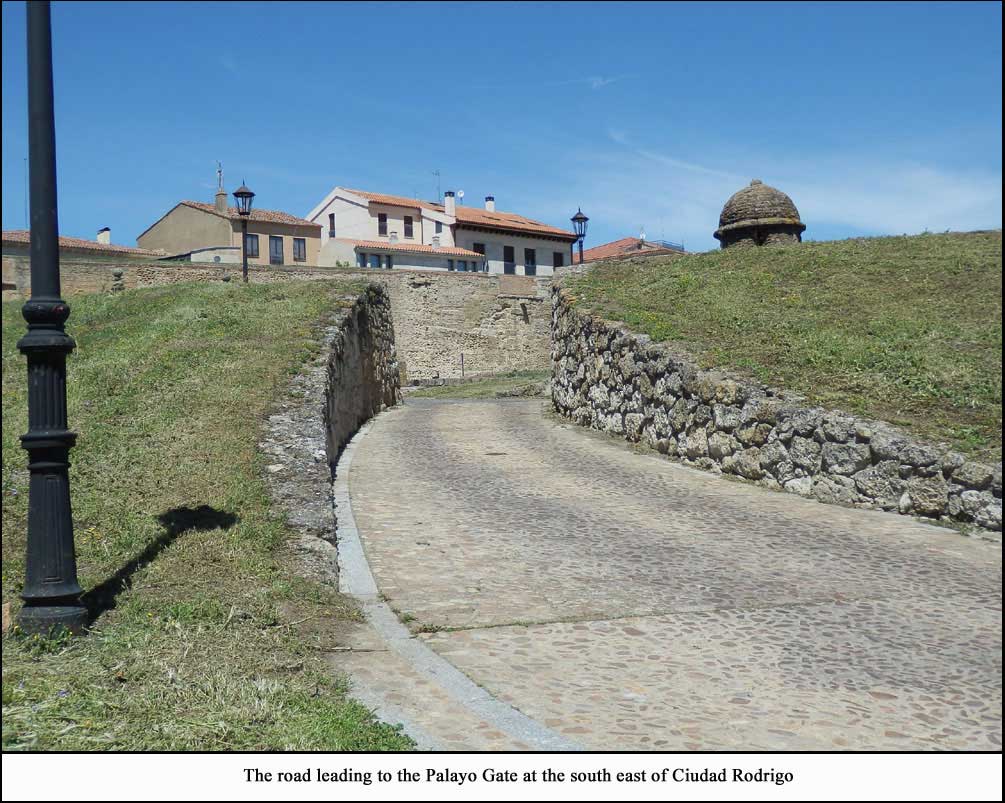
Wellington had decided to maintain his positions around
Ciudad Rodrigo preventing its resupply until Marmont made
a movement which would provide him with an opportunity
to storm it. The siege guns had been brought up from Lamego
and were in a Siege Park at Villa de Ponte, a little village
near Trancoso. The guns were later moved into the safety
of Almeida which had been rebuilt. On November 2nd a re-supply
of Ciudad Rodrigo did occur which Wellington was unable
to prevent due to unlucky circumstances; Crauford with
the Light Division were in the mountains above Rodrigo
at Martiago (perhaps with Pack!) but was unable to move.
However eventually, under Napoleon’s |
direct
orders Marmont started to move 2 Divisions of his army
eastward, under Montbrun, to support the attack on Valencia
on 15th December 1811. The Army of the North also moved
further north to protect lines of communication with Bayonne,
leaving Ciudad Rodrigo unprotected. |
Maps
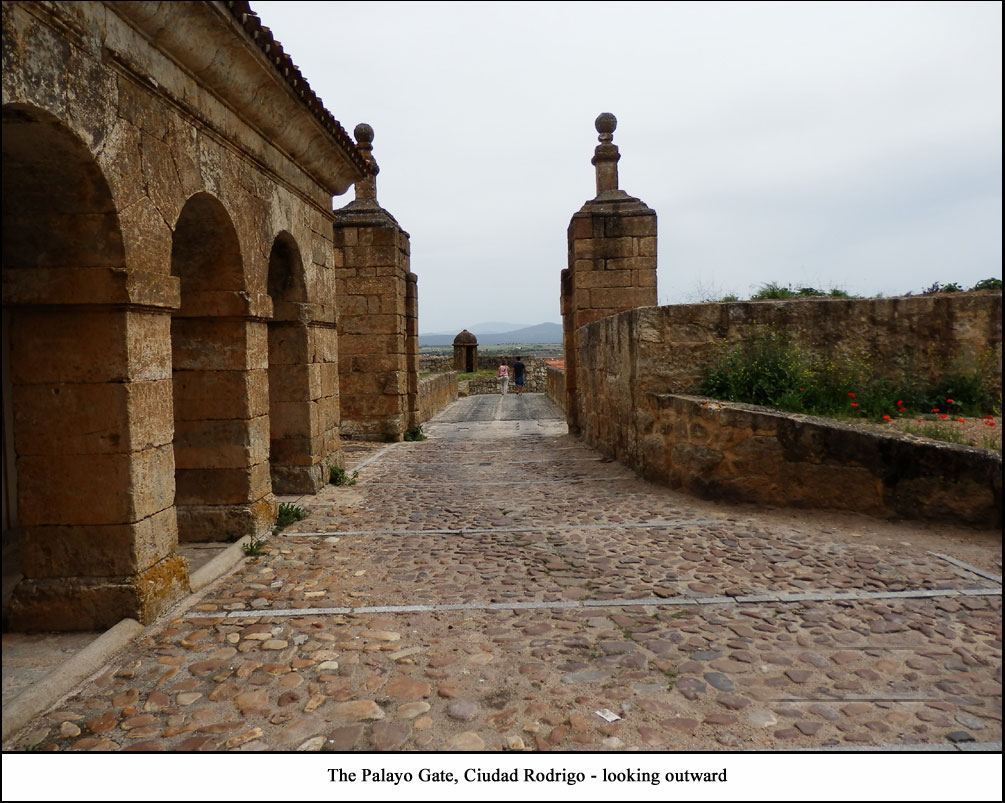
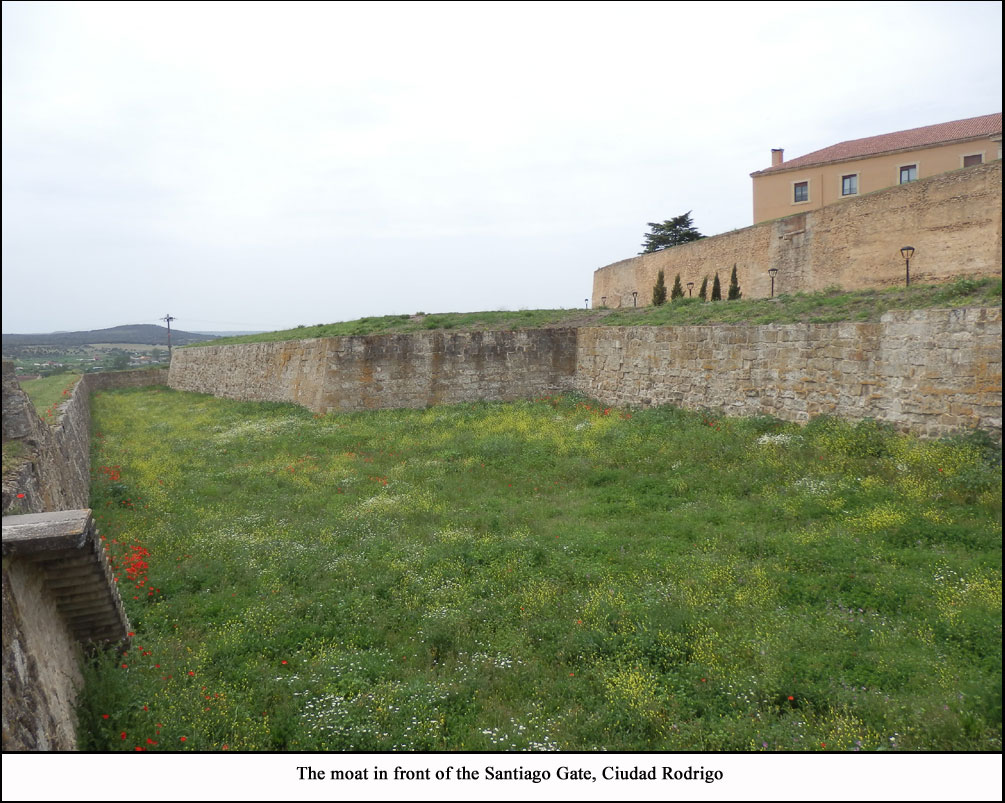
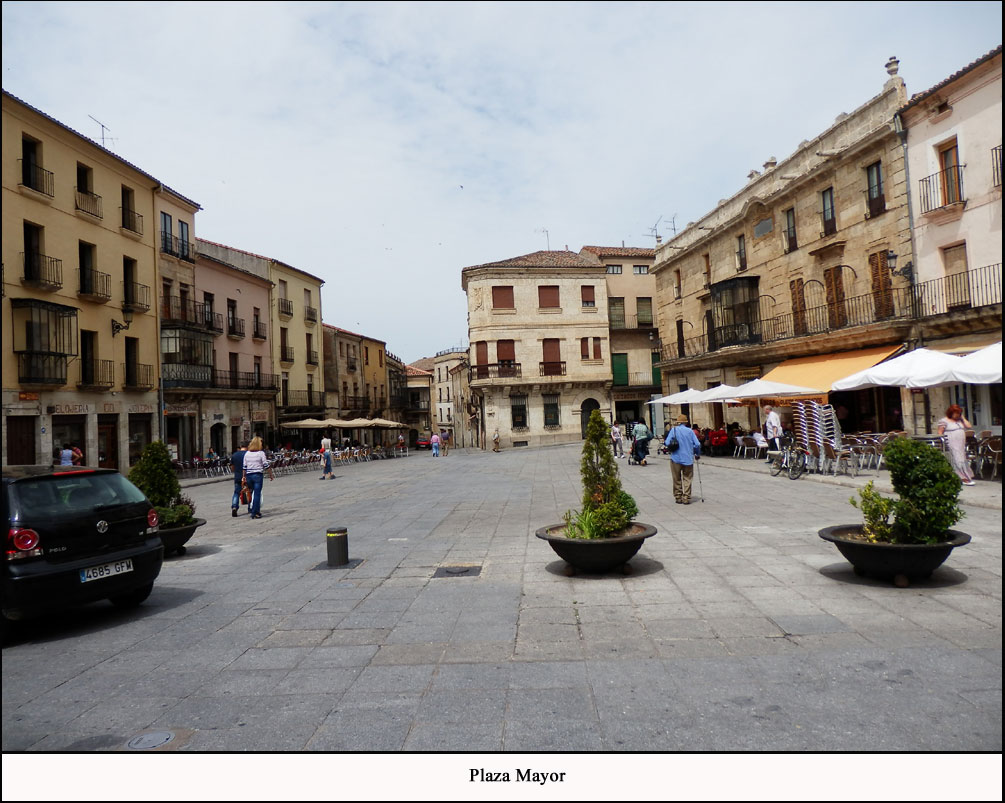
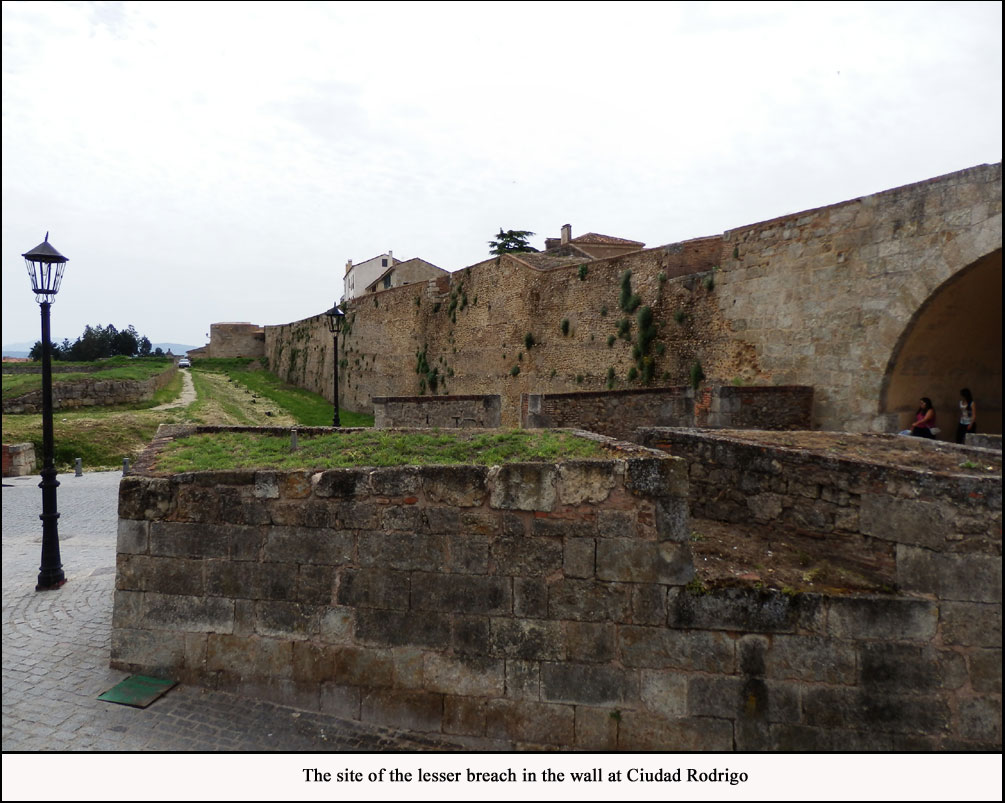
Photos
|