Chapter 28
The
Third French Invasion
May 1810
The third French invasion
of Portugal began in 1810 and was led by Marshal Massena
at the head of 65,000 troops.
Although it would appear that an invasion of Portugal
from Spain would best be carried out along the river
valleys of the Douro in the north, the Tagus towards
Lisbon or the Guadiano in the south, the valleys, especially
towards the Spanish border, are often steep sided gorges
and roads do not always follow them. In the north the
mountainous region of the Tras os Montes offers a serious
barrier with Galicia which in any case was rarely under
French control. An attack south of the Tagus was problematic
because Lisbon, the main target of any attack, is separated
from the south bank by a huge stretch of water which
only really becomes bridgeable upstream at Alhandra
or even Salvaterra. Therefore Wellington’s defence
of |
 |
Portugal
was focussed on the defence of Lisbon north of the Tagus
and south of the Douro, from whence, if all else failed
he could disembark and save Britain’s only army.
The area around the border to
the east is sparsely populated and not very fertile
high ground with deep gorges and escarpments, difficult
for an army to manoeuvre in and to support itself on
local supplies.
The two most likely routes for an invading army to attack
Lisbon were:
1. The road north of the Mondego river by Celorico,
Vizeu, Busaco
and Coimbra
2. The parallel road south of the Mondego river from
Celorico by Chamusca, Maceira and Ponte
de Murcella to Coimbra.
The north road was the worst with the best defensive
position lying across it at Busaco. The south road was
defended by Wellington with earthworks at the passage
of the Alva river at Ponte de Murcella. Napoleon appointed
|
Marshal
Massena on the 17th April 1810 to command the 65,000
strong ‘Army of Portugal’ arriving to take
up his post at Valladolid in May 1810. In anticipation
of the forthcoming onslaught, Wellington had moved his
headquarters in April closer to the Spanish border at
Celorico together with the 1st Division. The 3rd Division
were at Pinhel, the 4th Division at Guarda and the Light
Division under the charismatic General ‘Black
Bob’ Crauford on outpost duty strung out along
the Agueda river for 40 miles between the fortress of
Almeida and the Douro river. On the 26th April the 5
Portuguese Brigades under Pack, Harvey, Collins, Coleman
and Campbell were ordered up to the front and joined
the army at Celorico on the 2nd May. As already stated
John Gomersall who was already stationed close to Celorico,
was appointed Major in the 16th Portuguese Infantry
Regiment |
| (part
of Pack’s Independent Portuguese Brigade) on 7th
May at the time the Regiment was moved up to the front.
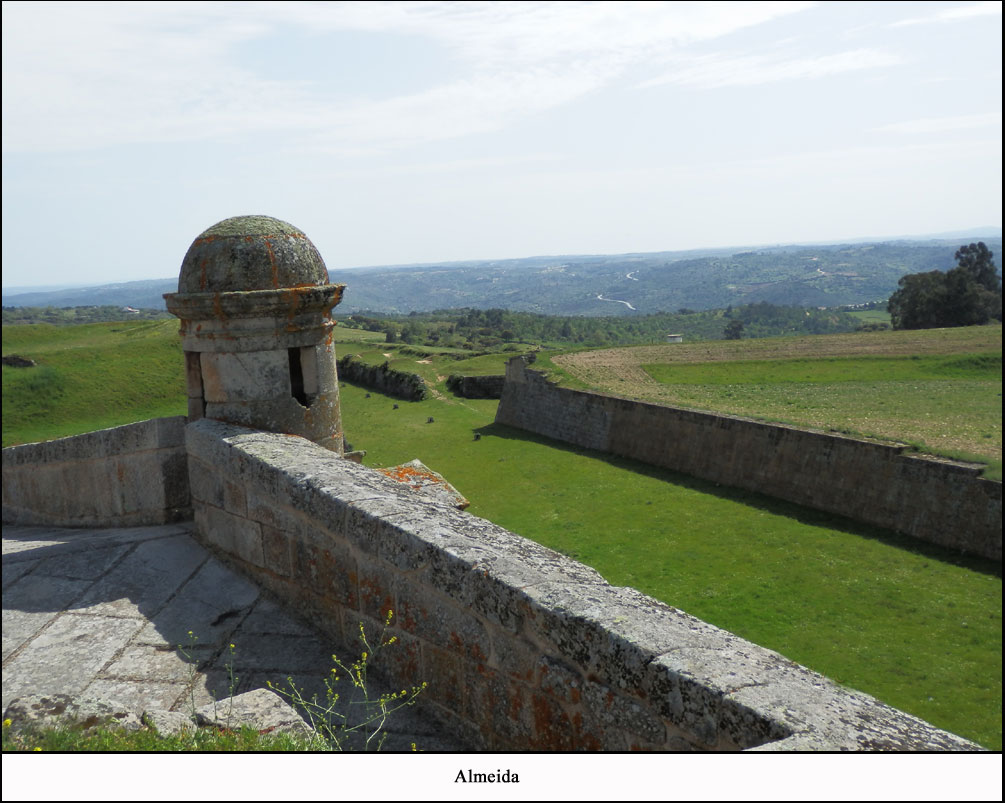
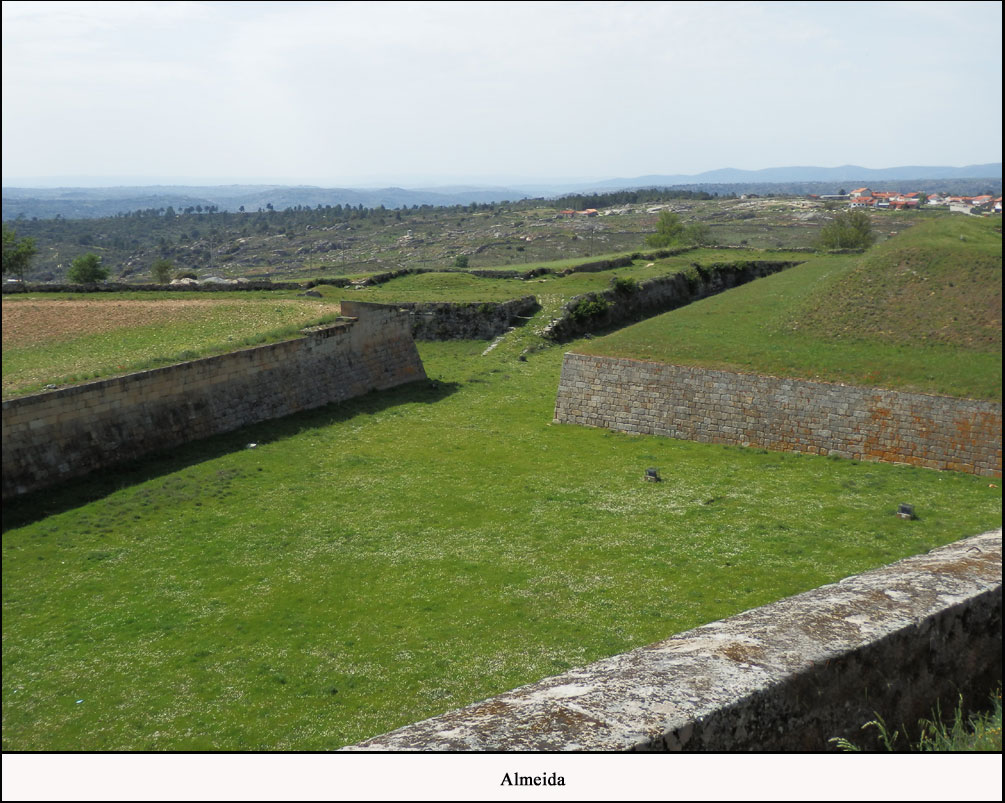
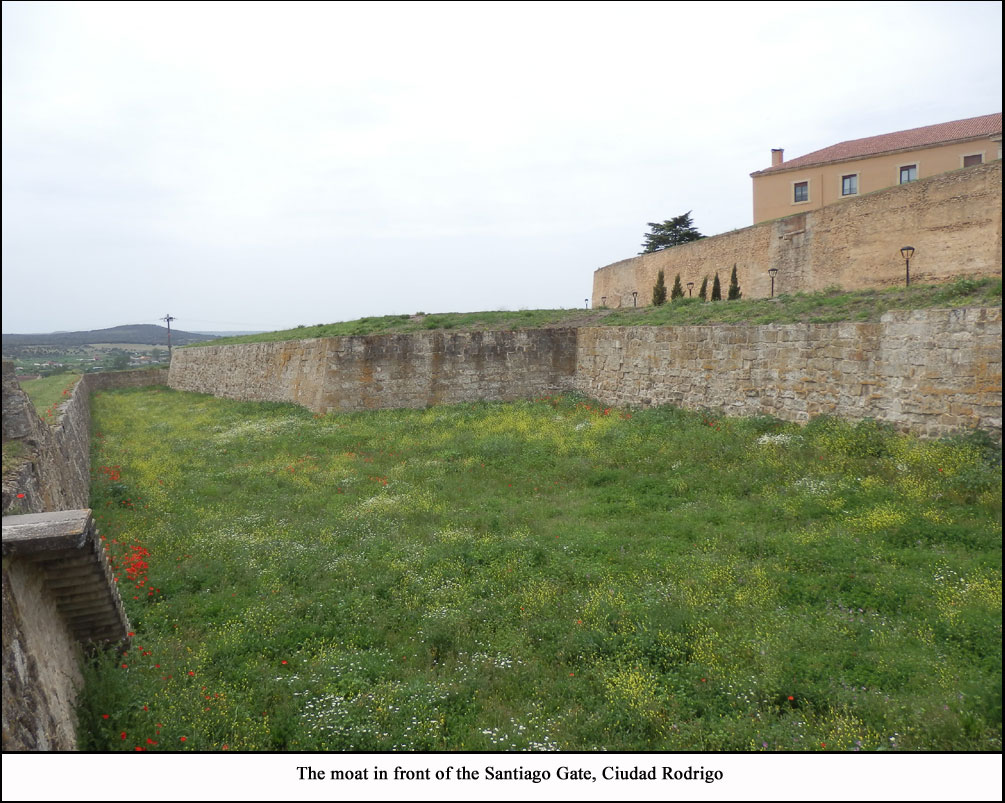
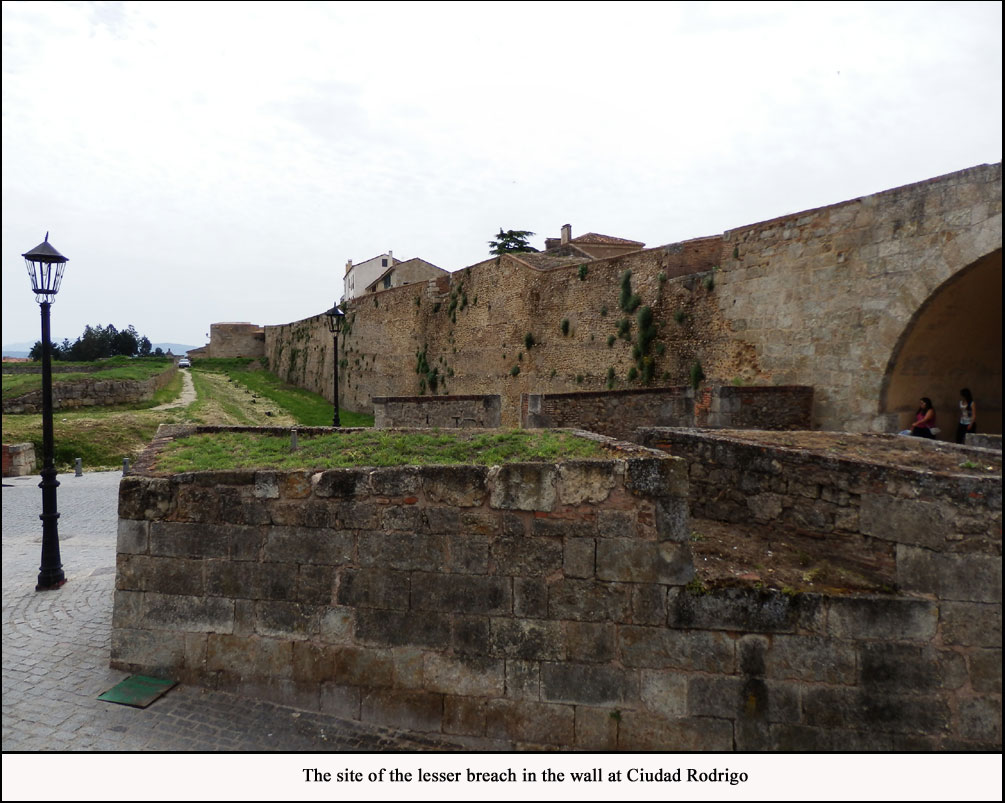
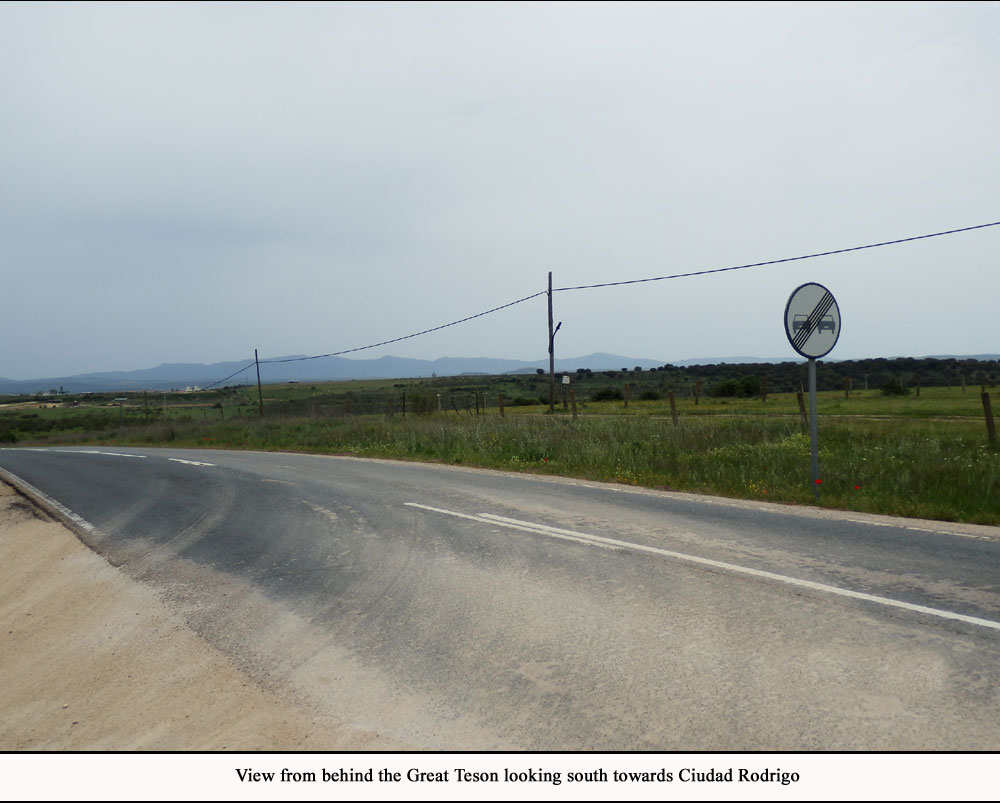
Standing in the way of Massena’s advance were
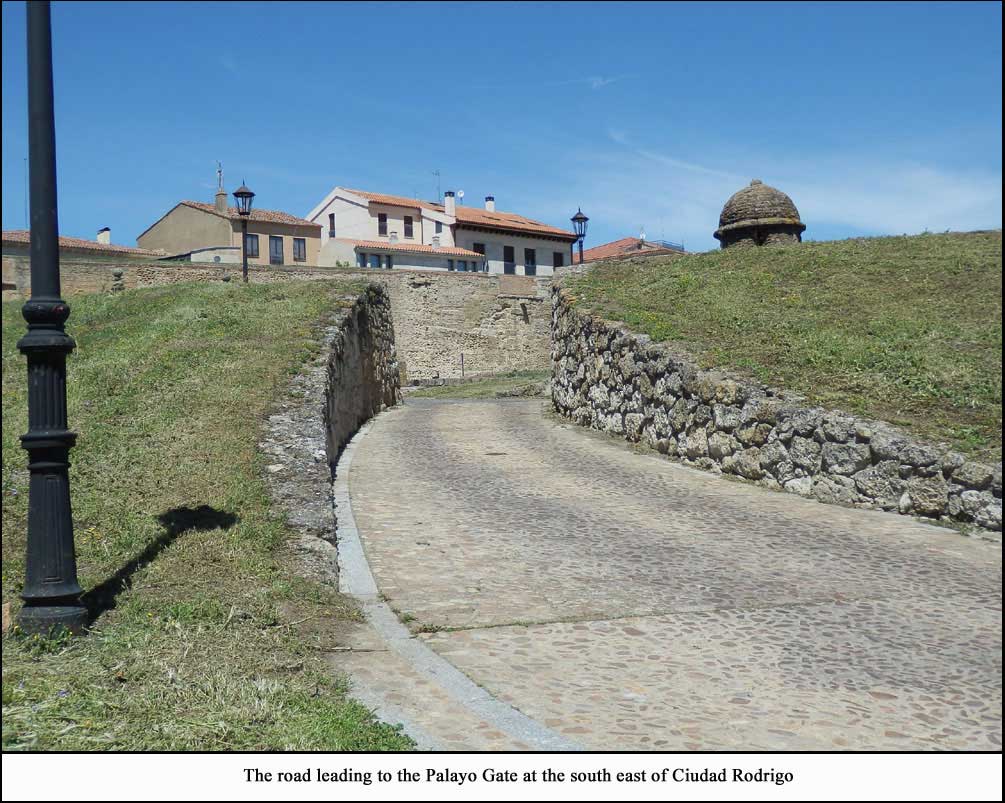
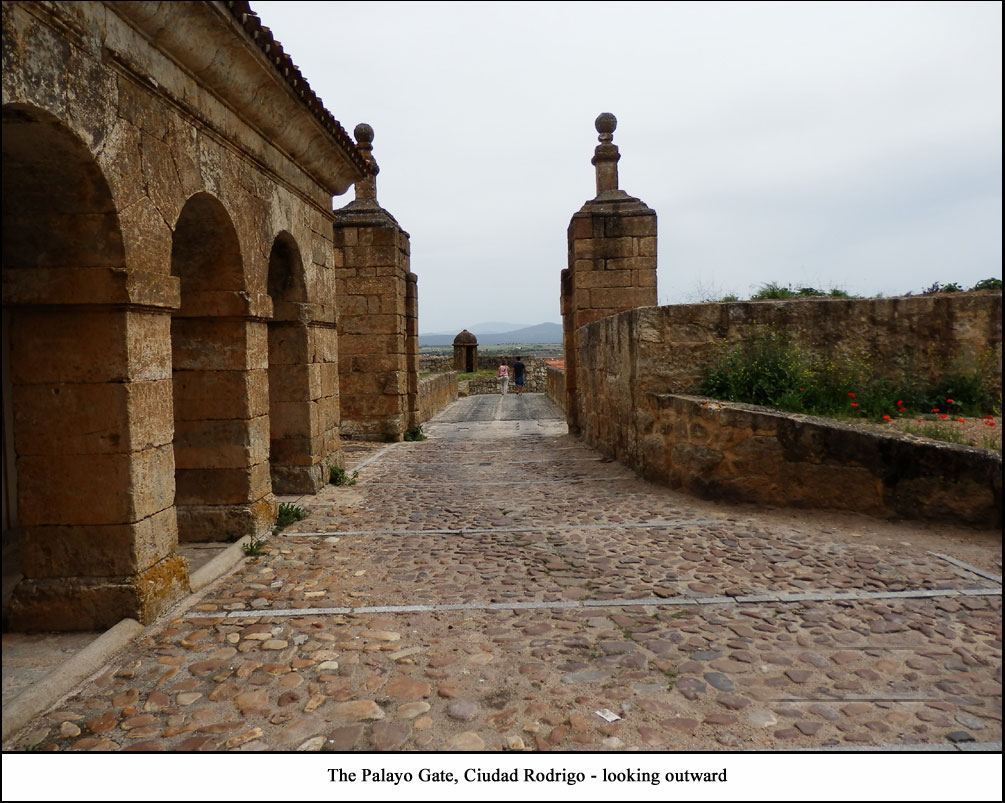
the two border fortresses of Ciudad
Rodrigo on the Spanish side and Almeida
on the Portuguese side. The French advance was slow
and deliberate, investing Ciudad Rodrigo towards the
end of April but not actually bombarding it until the
24th June. Wellington resisted pressure from the governments
in Britain and Portugal to go to the aid of the fortresses
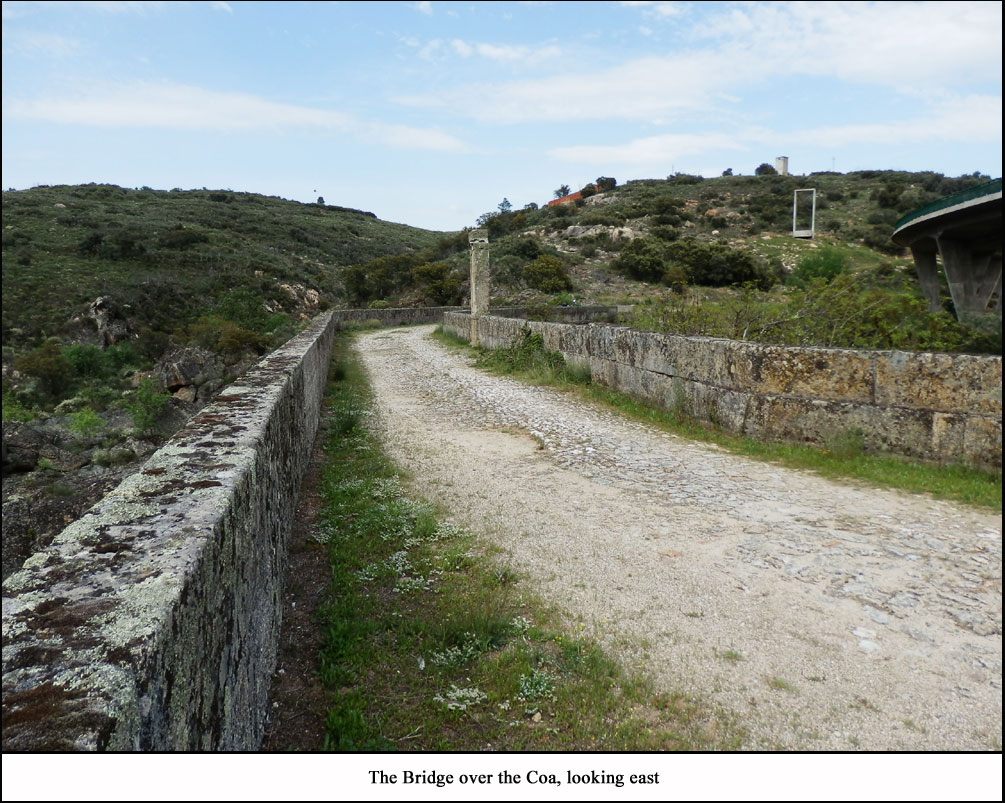
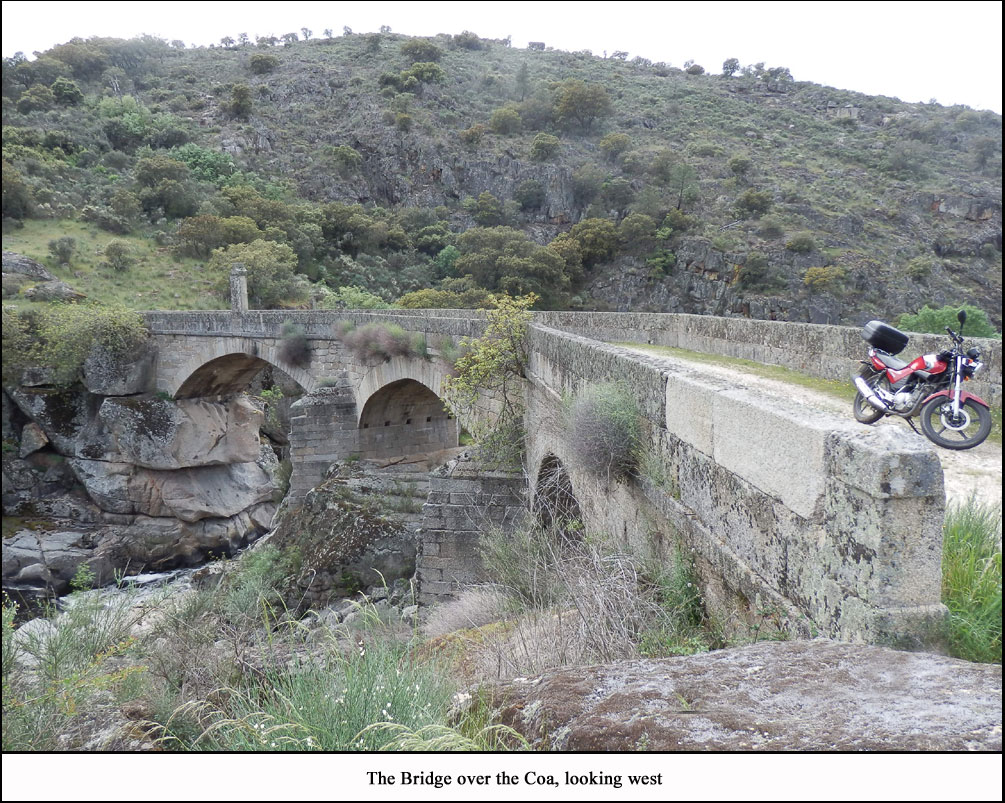
and on the 10th July Ciudad Rodrigo fell. General Crauford
with the Light Division stayed too close to the French
for too long and on 24th July fought a desperate rear
guard action at a bridge over the Coa
river. One of his gun carriages overturned crossing
the bridge, blocking the road and trapping his troops
on the eastern bank. However, due to the professionalism
and bravery of his troops he escaped with fewer casualties
than the French and that night retreated to Celorico.
The French laid siege to the border fortress of |
 |
Almeida in August 1810. Wellington positioned his forces
on a 15 mile front between the Mondego and Coa rivers
with his headquarters at Celorico on the Mondego. Pack
was just east of Celorico at Jejua. Although Almeida
had been well garrisoned and provisioned it was defeated
on the 25th August after a massive explosion in its
powder magazine which destroyed much of the fortress
and killed 500 soldiers.
Massena had kicked in the door to Portugal with surprising
ease and as he advanced Wellington retreated south and
west down the south side of the Mondego valley through
Villa Cortes, Pinhancos and Moita until eventually by
mid September he was at Ponte de Murcella where he anticipated
making a stand should the French follow him down that
side of the river. |
 |
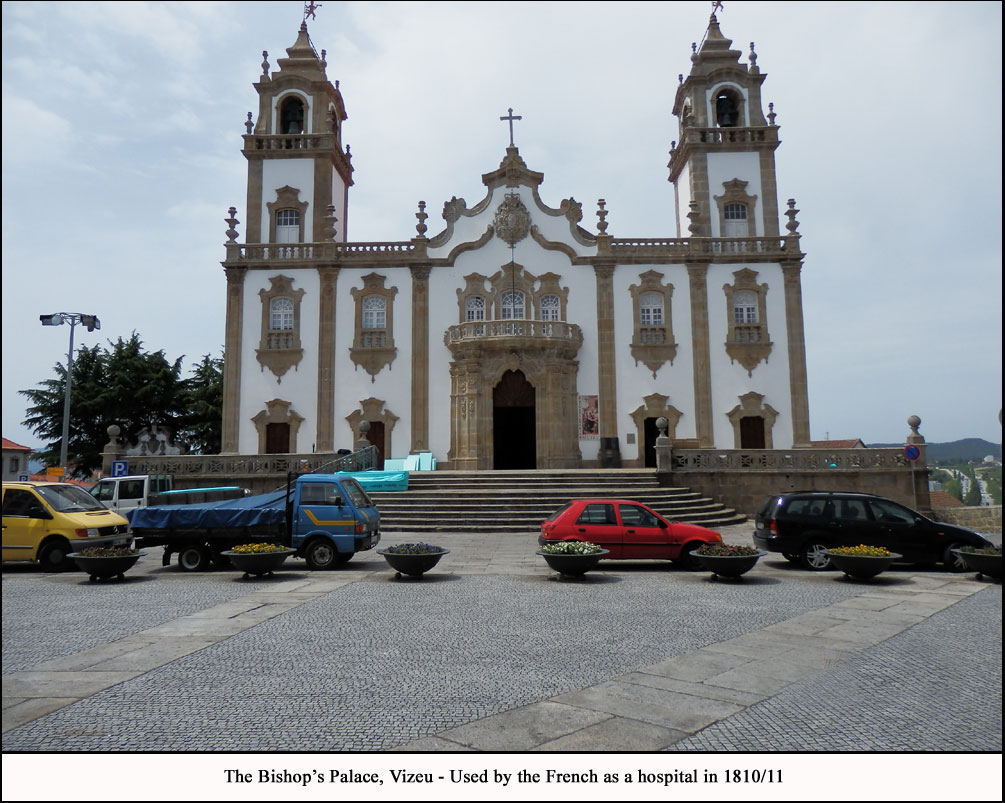
However, contrary
to his orders from Napoleon, Massena decided upon concentrating
his forces and marching on Viseu and from there down
the north bank of the Mondego. Not only had he inadvertently
chosen one of the worst roads in Portugal, but his route
took him across the Serra de Busaco, which according
to Wellington was the best defensive position in Europe.
At the time Massena marched towards the deserted city
of Viseu, Wellington issued detailed orders to Brig.
General Pack to closely watch the enemy’s progress
and if possible slow their advance.
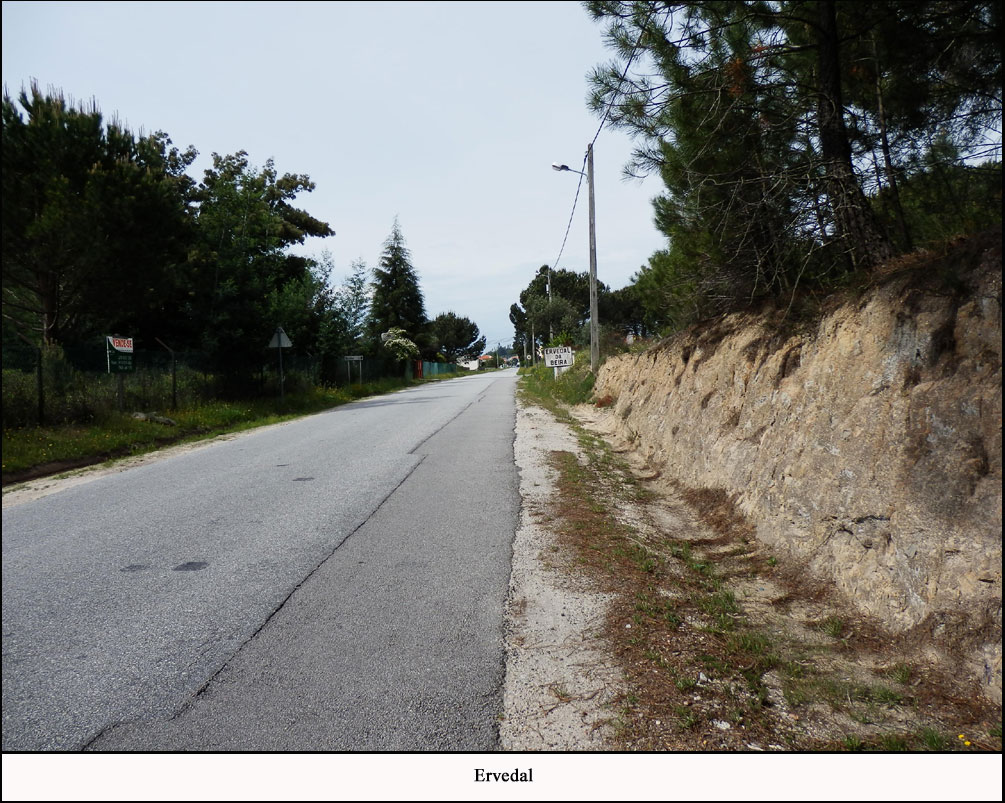
On 16th September Pack was at Rio Torto
and had been ordered to march the same day to Ervedal
and the village between there and Midoes
but in addition he received the following order from
Wellington’s HQ:-
“My Dear Sir,
It is very desirable that you should establish some
communication (with) the other country upon the other
side |
of
the Mondego in order to procure intelligence, what passes
there. A part of the enemy’s force which passed
through Celorico this morning, took the direction of
Fornos and it is of much importance to ascertain whether
they have any considerable corps upon that side of the
Mondego and if possible what is the amount, the direction
of the march, the daily progress and the name of the
General commanding and of the principal officers. Perhaps
an intelligence officer or two of your corps employed
on the north side of the Mondego would be able to inform
himself upon some of the points, especially if he is
employed who is acquainted with the country and with
some of the inhabitants in that quarter.”
Wellington’s Dispatch,
Cortica 18th September 1810 and repeated in the Quartermaster
General’s general orders of the same date, was
as follows:- |
“Brig
General Pack will march at Day break tomorrow Morning
by the road which leads from Sampaio to Sta
Comba Dao. He will push his advanced Guard, a considerable
way in front & will endeavour to ascertain whether
the enemy has made any movement towards Sta Comba Dao
& neighbourhood, either from the side of Vizeu through
Tondella or Direct from Mangoalde by the left Bank of
the River Dao.
If the Enemy should have already advanced towards the
neighbourhood of Sta Comba Dao (which is not supposed
to be the case) in such force as to prevent Br Genl
Pack from making his march to that place, he will continue
to watch the enemy as long as possible upon the right
bank of the Mondego & will retire towards Sampaio,
when forced to recross the River. If Br Genl Pack should
succeed in making his march tomorrow to Sta Comba Dao
he will continue there till further orders or until
forced by superior numbers to retire.
|
 |
In the latter case, he will fall back
behind the River Criz, by the road towards Barril, &
he will dispute the passage of the Criz, as long as
may appear prudent to do so and when forced to fall
back from the right Bank of the Criz Br Genl Pack will
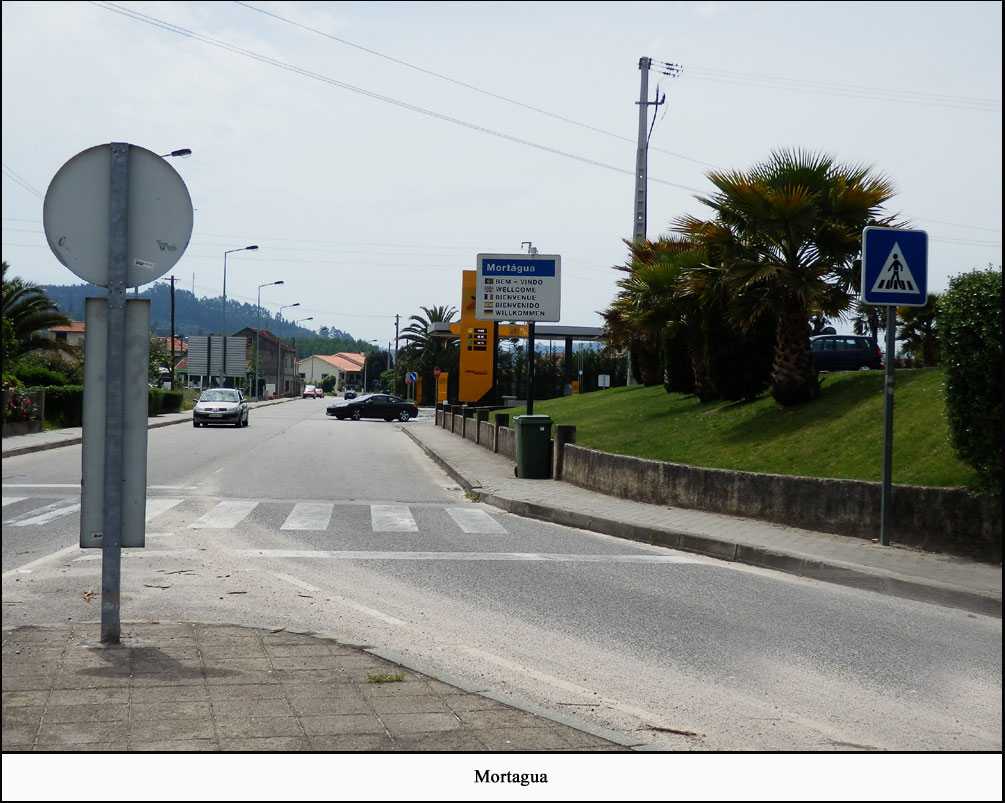
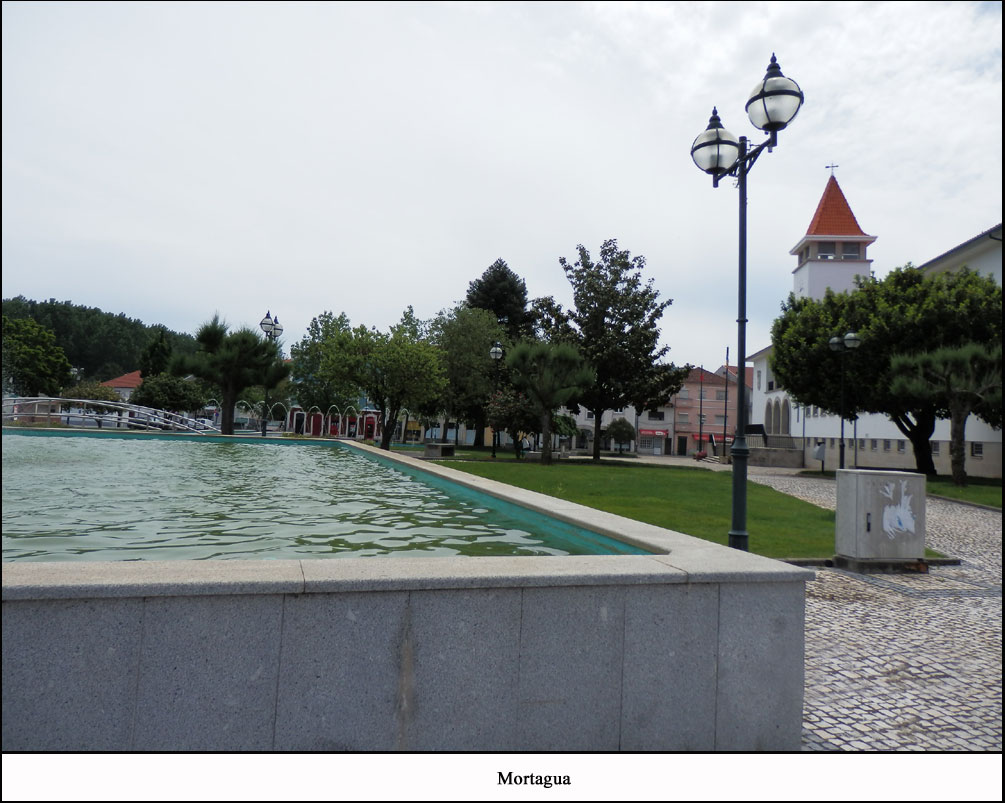
retreat through Barril & Mortagua towards Botao.
It will be very desirable in the event of the enemy
marching in the direction of the bridge over the Dao
at Sta Comba Dao or by the bridge over the Criz between
that place and Barril that these bridges should be destroyed
before his arrival.
Br Genl Pack will take such measures as he has the means
of employing towards effecting these objects & will
report what further assistance he requires for the purpose.”
Another memorandum to General Crauford, on the 19th
September, who was at Mortagua makes it plain that Pack
was to be under Crauford’s orders from then on
and ordered him to: |
 |
“put himself
in communication as early as possible with Brig. General
Pack who is at Santa Comba Dao and who is to be under
Gen. Crauford’s orders whilst the army continues
in the position in which it will be placed by the movements
of tomorrow.
…in the event of Gen. Crauford being forced to
fall back by the advance of a superior enemy, he will
retire to the neighbourhood of the Convent of Busaco.”
Pack subsequently crossed
the Mondego at Fosdao to the Criz river, where he engaged
the French at Santa Comba Dao on 19th September before
destroying the bridges across the Criz and falling back
on Crauford’s Light Division at Mortagoa
(just 14 miles from Busaco). From this time on, until
they reached the Lines of Torres Vedras, Pack’s
Brigade was in support of Crauford’s Light Division
which acted as Wellington’s rear guard. Wellington,
was keen to maintain Crauford as commander of the Light
Division and |
rather
than increase his Division’s strength, as Crauford
was pressing him to do, he preferred to give him Pack’s
Independent Brigade as support. If he increased Crauford’s
Divisional strength it might have provoked bids for
the command from more senior generals.
On the 24th September, Reyniers Divisions mounted a
strong attack upon Crauford and Pack’s position
and managed to push in the horsemen upon the infantry
but were checked when the artillery opened up on them.
Whereupon, Crauford and Pack withdrew to the village
of Moura at the foot of the Serra de Busaco and on being
attacked again in their flank by Loison’s Division
withdrew to the steep slopes of the Busaco ridge where
Wellington had assembled his entire army. However, on
the 27th September when Massena marched up the hill
he thought that he was only facing Wellington’s
rear guard.
This is consistent with John Gomersall's 'Statement
of Service' in which reference is made to Santa Combadao
and Mortagoa. |
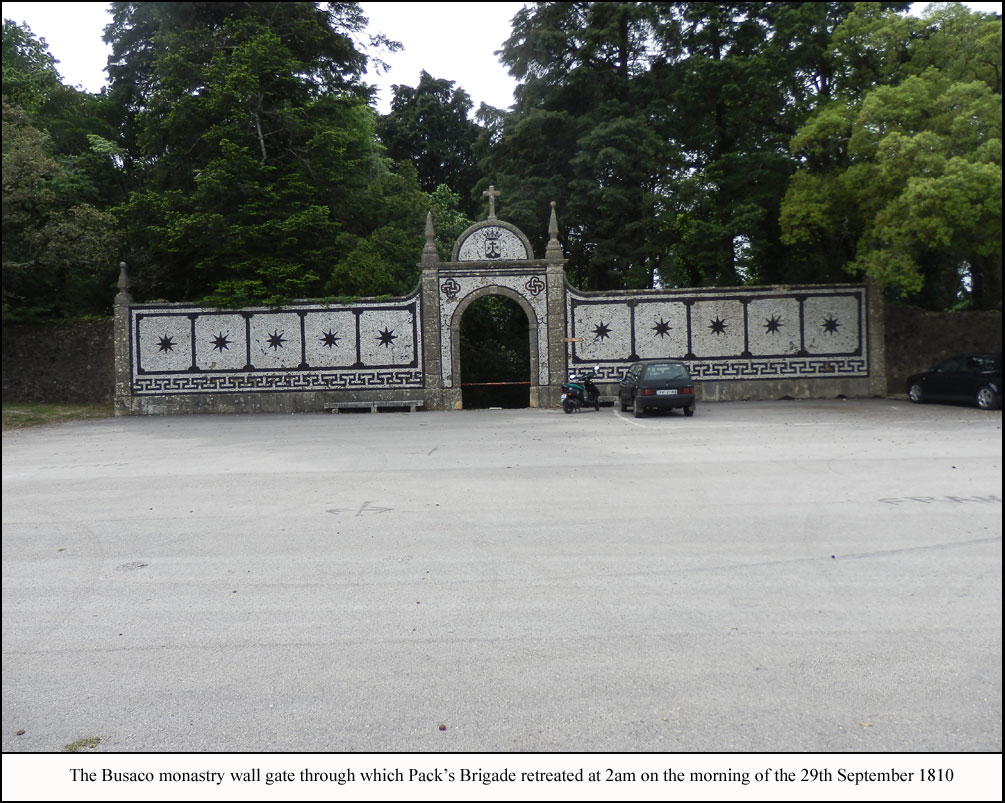
Maps
Photos
|
|