Chapter 33
Storming the Border Fortresses
An Overview
April 1811-June 1812
Wellington’s
forces were divided between those, north of the Tagus
around Almeida and Ciudad Rodrigo and those, south of
the Tagus around the fortresses of Elvas and Badajoz.
When Wellington followed Massena’s retreat in early
March 1811, he had left Beresford’s troops at Abrantes
to cover against Massena making a move south across the
Tagus. When he was certain that Massena was heading north,
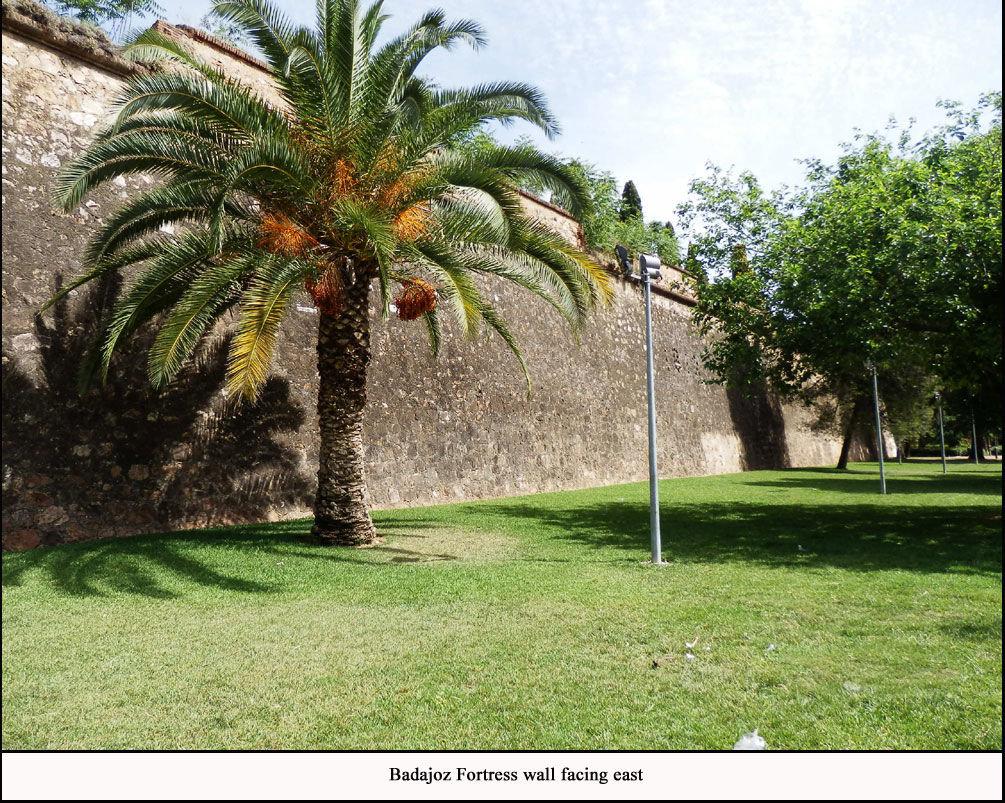
he sent Beresford with his troops to the fortress of Badajoz
which |
 |
was being
held by the Spanish. However, on the 14th March, days
before Beresford arrived, its commander rather
ignominiously capitulated to the French. Beresford’s
route took him to Portalegre
and from there to the fortress of Elvas
from where he engaged the French at Campo
Mayor.
Wellington had succeeded in liberating Portugal, but he
knew that if he was to go on the offensive in Spain, he
had first to possess the four fortresses which controlled
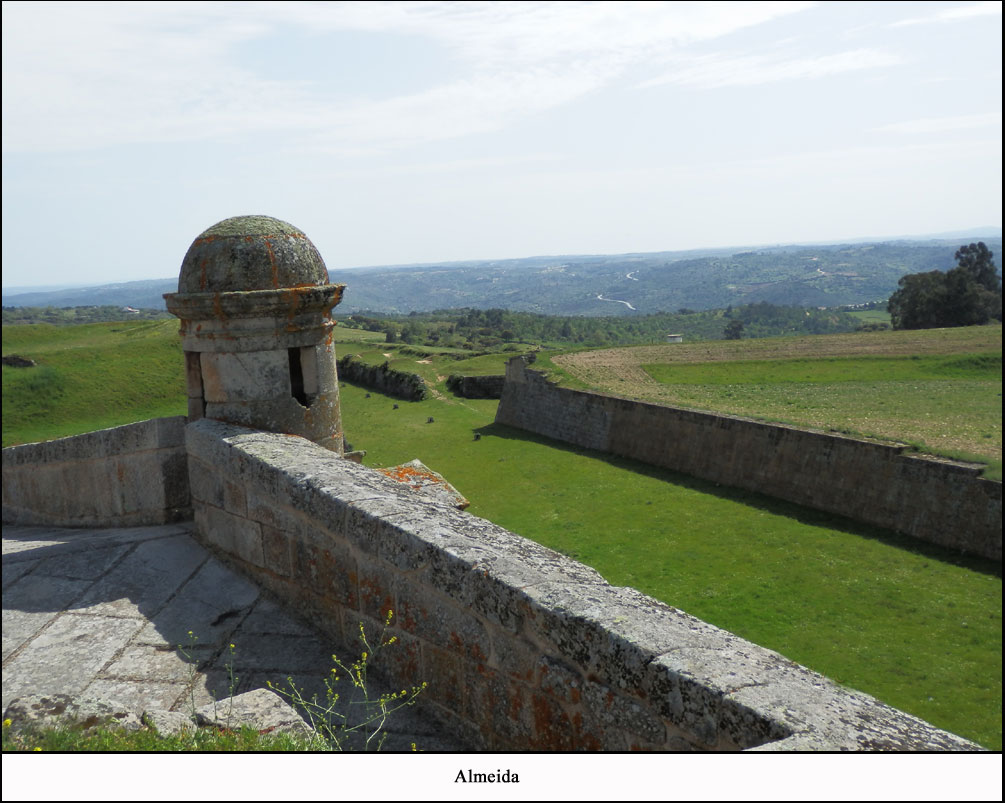
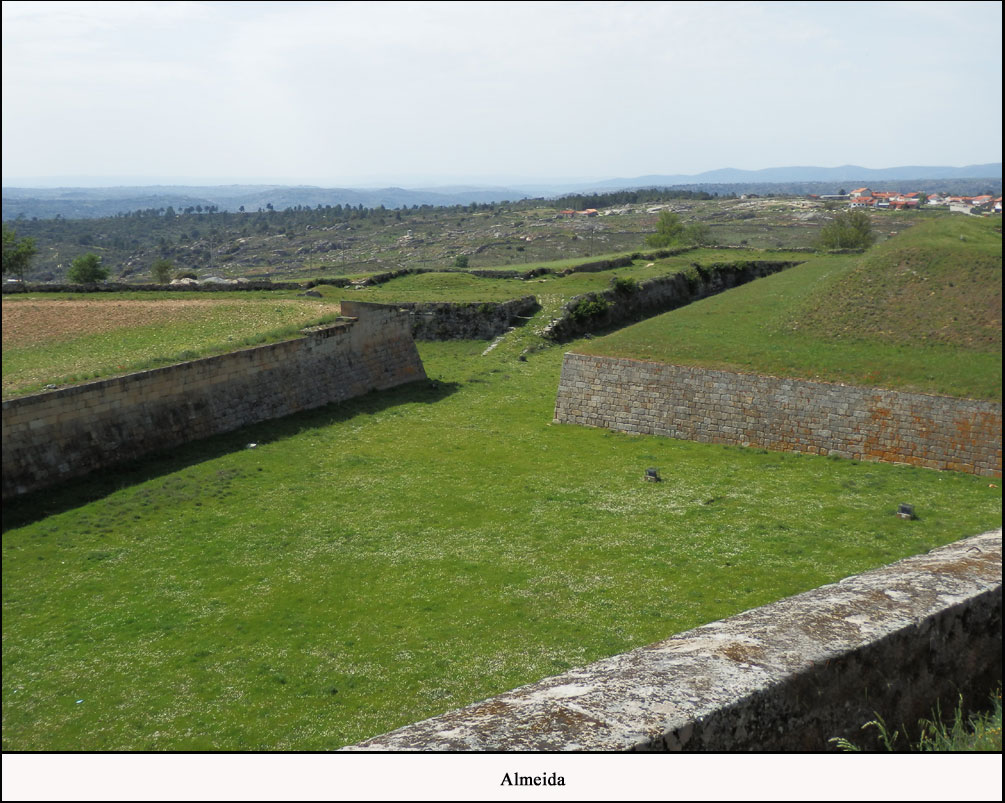
the main routes into Portugal, namely Almeida
and Ciudad Rodrigo north of the
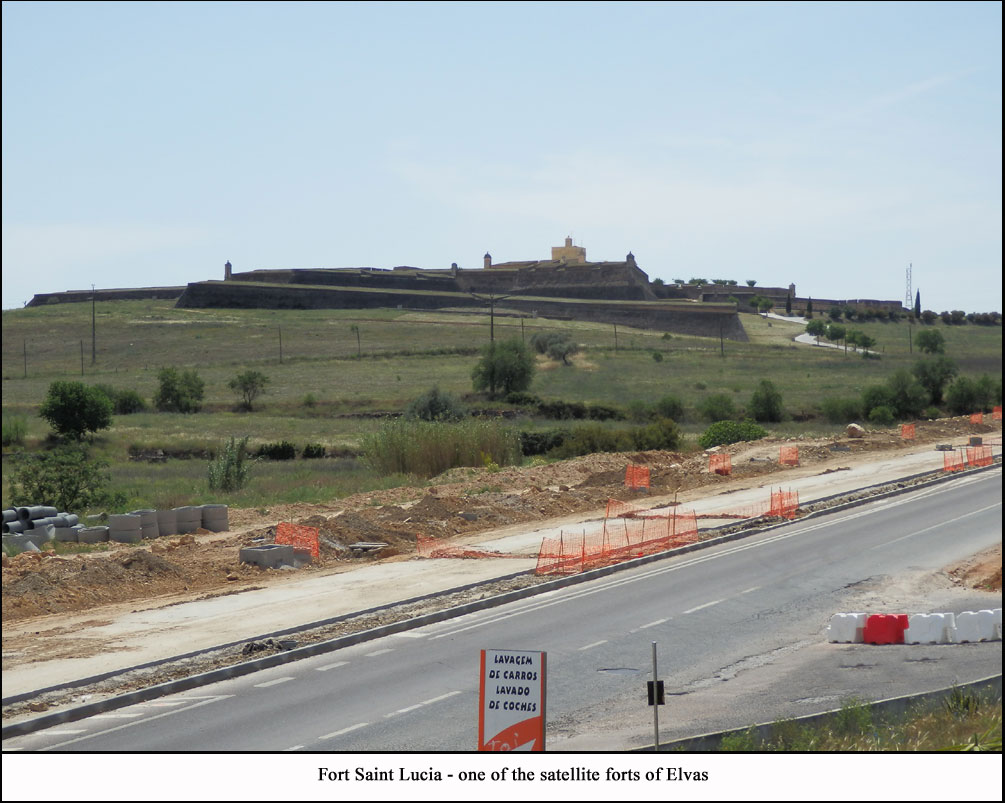
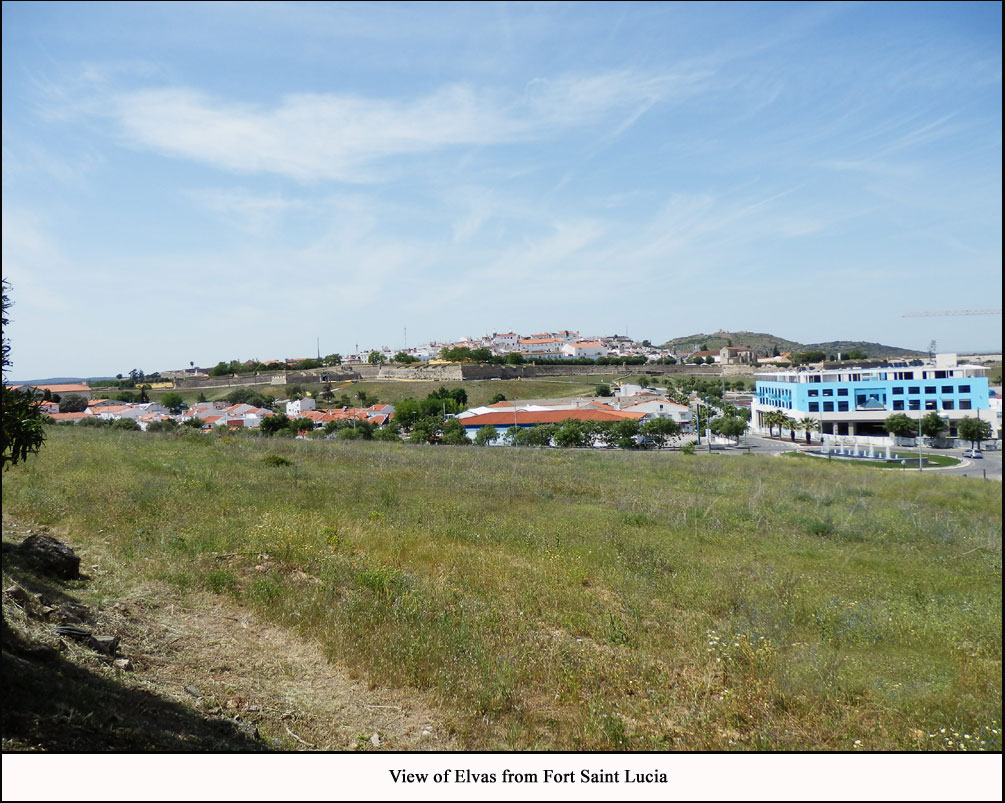
Tagus river and Elvas (which was still in allied hands)
and Badajoz south of the Tagus.
Therefore in early May half Wellington’s army was
laying siege to Badajoz in the south and half was blockading
Almeida and (eventually) Ciudad Rodrigo in the north.
Between the 3rd and 5th May Massena attacked Wellington
in the north at Fuentes D'Onoro trying to relieve the
blockade of Almeida and when this failed he ordered Brennier
the French commander of Almeida to make his escape which
he did brilliantly on the night of the |
10th May, much to Wellington’s disgust. In the south,
Beresford had to break off from laying siege to Badajoz
and fight off Soult at the battle of Albuera on the 16th
May. Wellington took half the northern army south to assist
Beresford arriving at Badajoz on 24th May, however Marmont
countered by moving south himself, forcing Wellington
to abandon the siege of Badajoz and fall back on Elvas
and at the same time bringing the rest of the northern
army south on the 31st May. |
| The
two armies faced each other but never fought and by mid
July the French had retreated and Wellington moved back
north leaving Hill with 2 Divisions in the south. Wellington
now planned to lay siege to Ciudad Rodrigo but to do this
he needed siege guns to be brought up from Lisbon via
Oporto and Lamego by ship and then overland to the frontier.
In the meantime he maintained a blockade around Ciudad
Rodrigo to prevent its re-supply. Towards the end of September
Marmont led a force of nearly 60,000 men to re-provision
Ciudad Rodrigo and took the opportunity to test Wellingtons
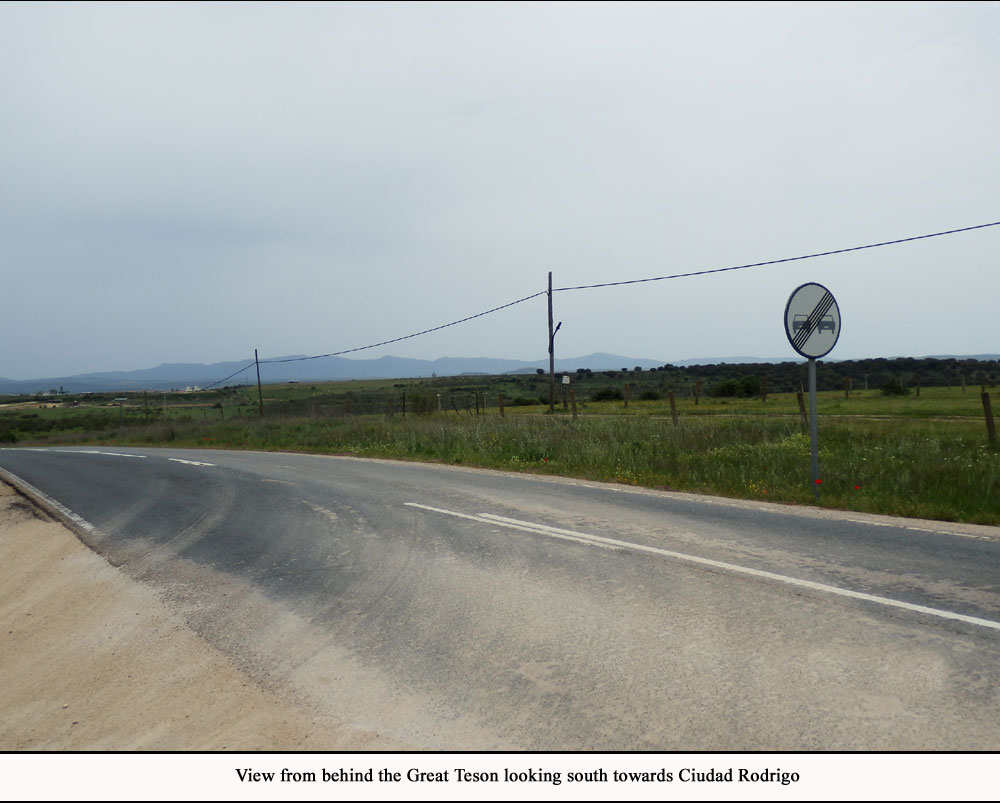
positions which resulted in the battle of El Bodon. By
November the siege train had arrived at the frontier and
was stored for safety in the fortress at Almeida. The
following month, Napoleon ordered Marmont to detach a
third of his army to support Marshal Suchet in his attack
on Valencia on the east coast, which gave Wellington the
opportunity he was looking for to attack Ciudad Rodrigo.
Pack was blockading Almeida from the |
 |
2nd May until Brenniers escape on the 10th May and he
then remained at the fortress until early June when he
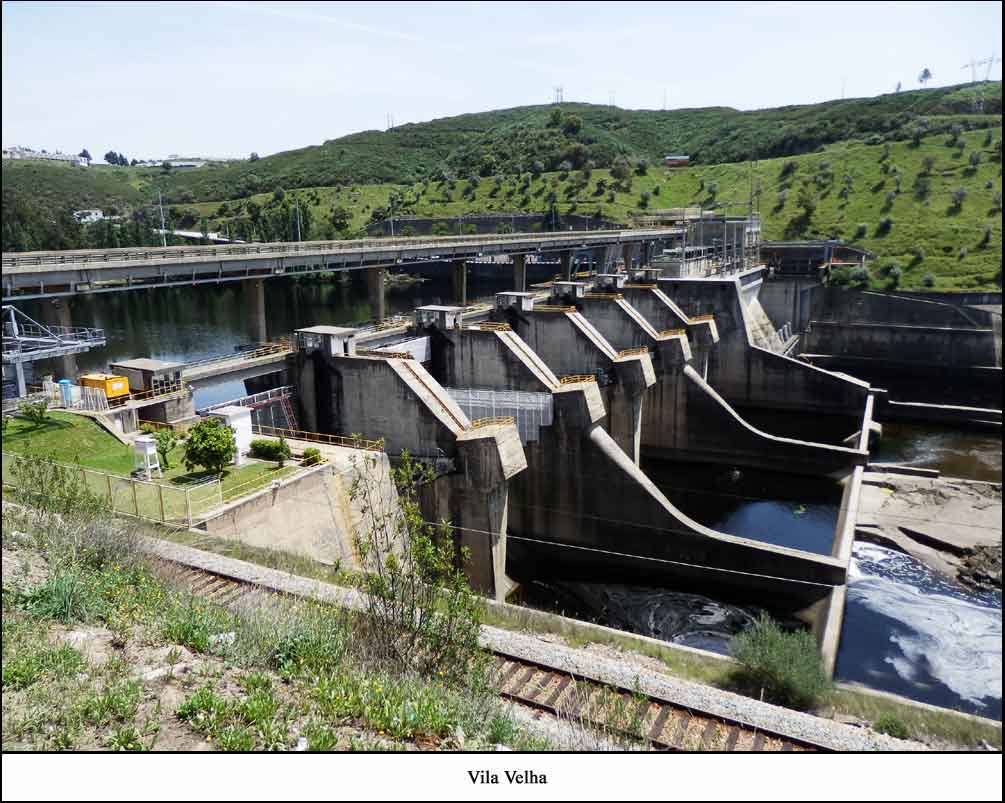
formed Spencer’s rear guard, crossing the Tagus
at Villa Velha on 15th/16th June and
by the 24th was outside Campo Mayor within 20km of Badajoz.
Pack stayed in the vicinity of Badajoz until mid July
when Wellington moved his northern army back to the area
around Ciudad Rodrigo and he was back at Pinhel by the
7th August. From then until January 1812 he was in various
villages around Ciudad Rodrigo. |
 |
Once Marmont had begun
to disperse his forces in January 1812, Wellington seized
the opportunity to invest Ciudad Rodrigo, brought up his
siege guns, prepared trenches on the low hills to the
north of the fortress and began to bombard the city walls.
His detailed plan included four separate attacks, two
main attacks to the north against the breaches created
by the bombardment, coupled with two false attacks, one
to the southwest and one to the south east by Pack's Portuguese
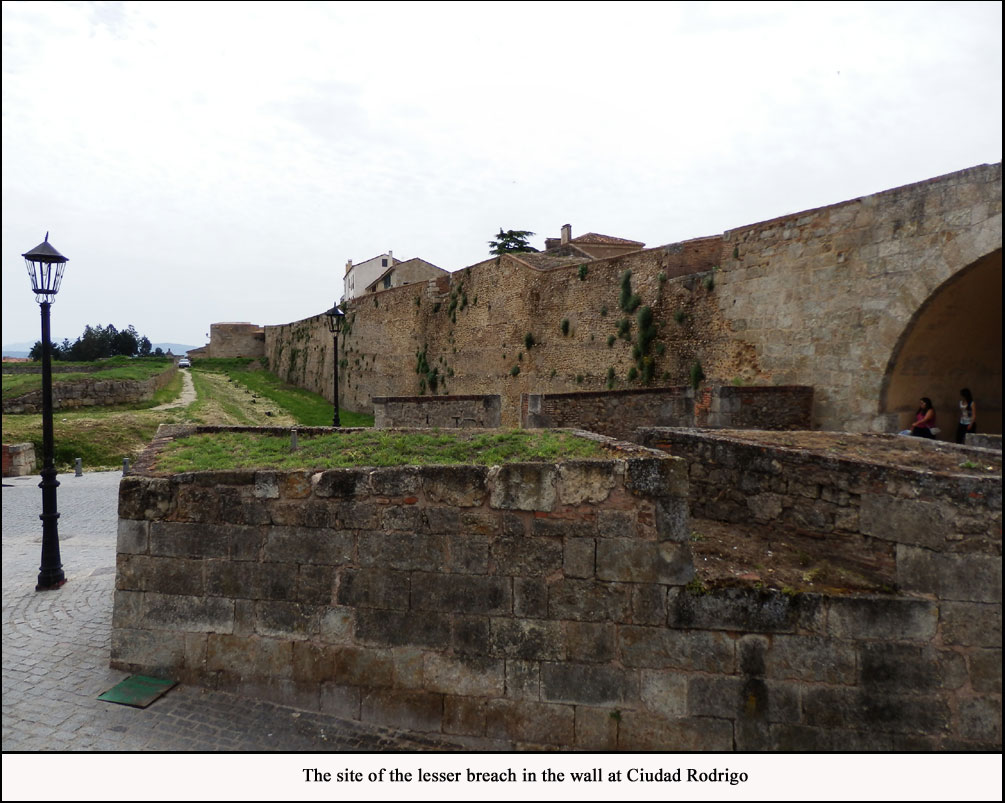
Brigade. These ferocious storming parties succeeded, including
the false attacks, and Ciudad was taken before Marmont
could reassemble his forces. John Gomersall was wounded
in the assault on the Santiago gate. Wellington now turned
his attention to Badajoz in the south, the one remaining
fortress still under French control. Pack was dispatched
almost immediately to Lamego where he remained for a couple
of weeks before marching to Viseu.
Coimbra and from there to Abrantes,
finally arriving at Wellingtons Headquarters at Elvas
on March 30th. |
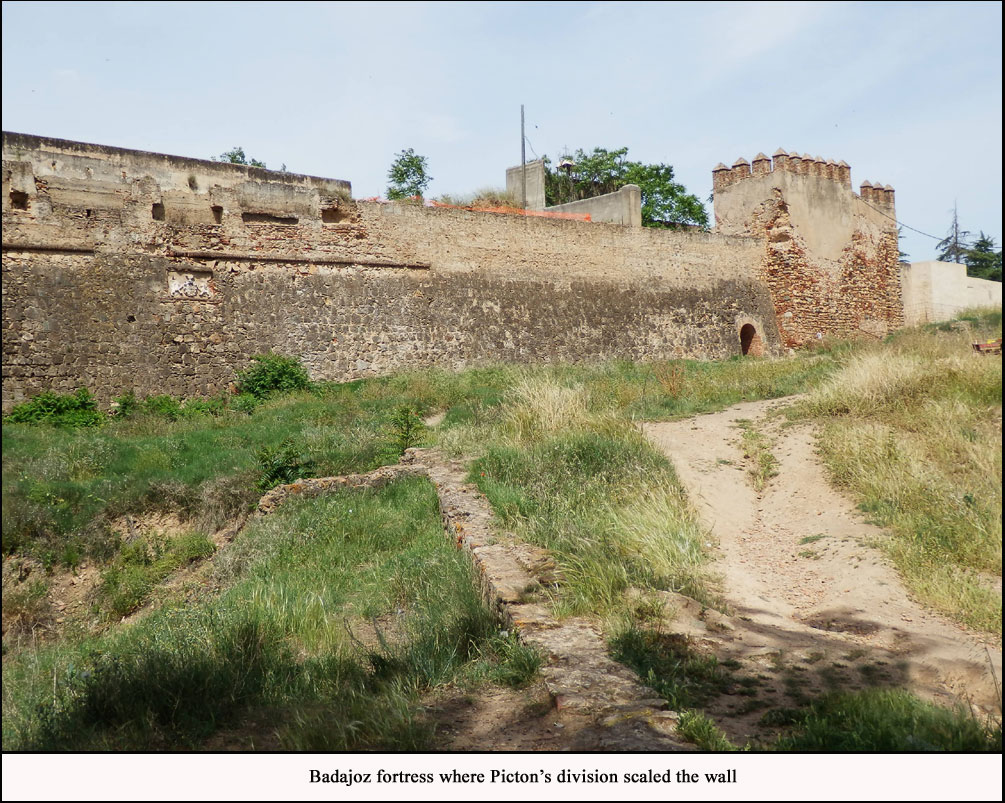
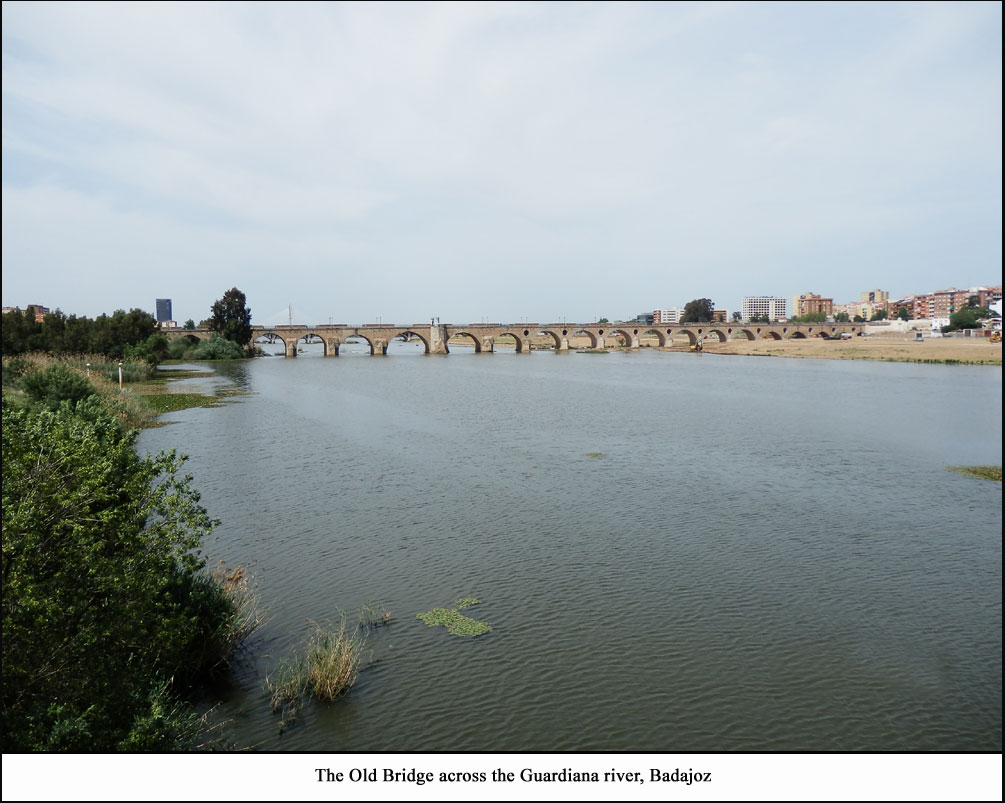
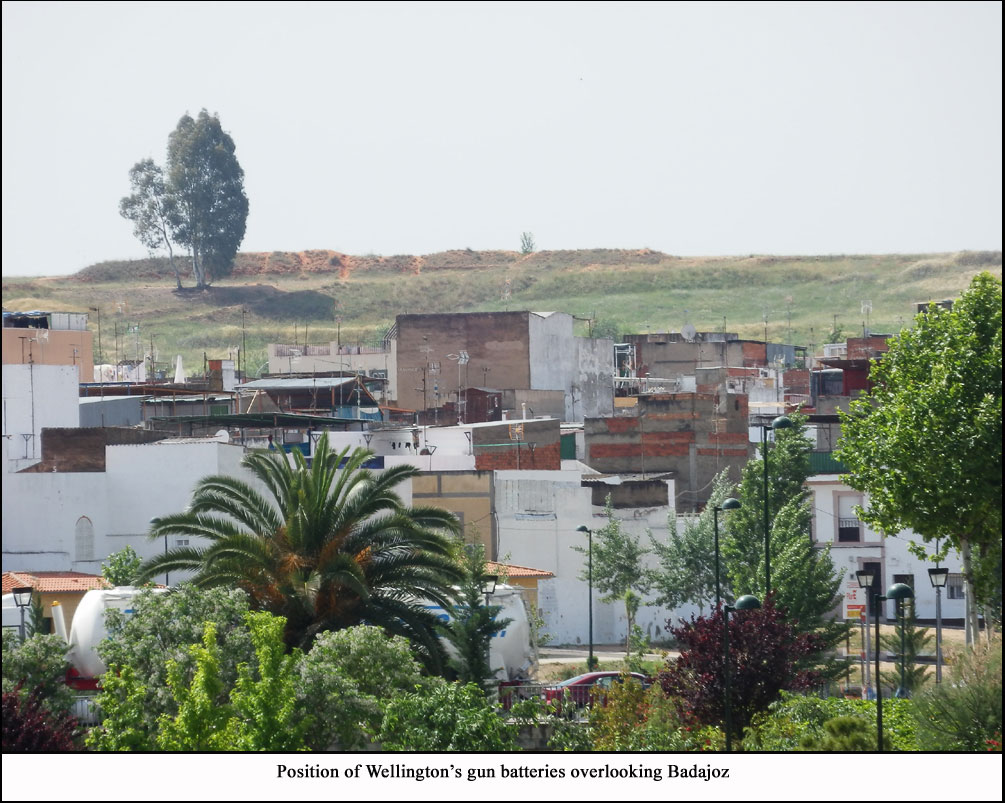
The walls
of Badajoz were finally stormed on the 6th April against
2 breaches on the south east side and the bastion of San
Vincente on the north west side. By the 7th April Badajoz
was in British hands but with appalling loss of life.
Pack appears to have been held in reserve protecting the
area from French attacks. Meanwhile Marmont was reluctantly
following Napoleon's orders and invading Portugal in the
north, but when he heard of Wellington's move back north
in mid April he began a rapid retreat across the Agueda
river. Pack was in the forefront of Wellington's advance.
Once Wellington was back in the neighbourhood of Ciudad
Rodrigo and Marmont had retreated to Salamanca, he ordered
Hill to demolish the bridge at Almarez over the Tagus
in order that French re-inforcement from the south would
be made more difficult. This was carried out successfully
on the 19th May. On June 13th after Wellington had assembled
his 7 Divisions in the north he began his advance into
Spain, towards Salamanca |
 |
Maps
Photos
|